Crusty, our 1974½ MGB GT
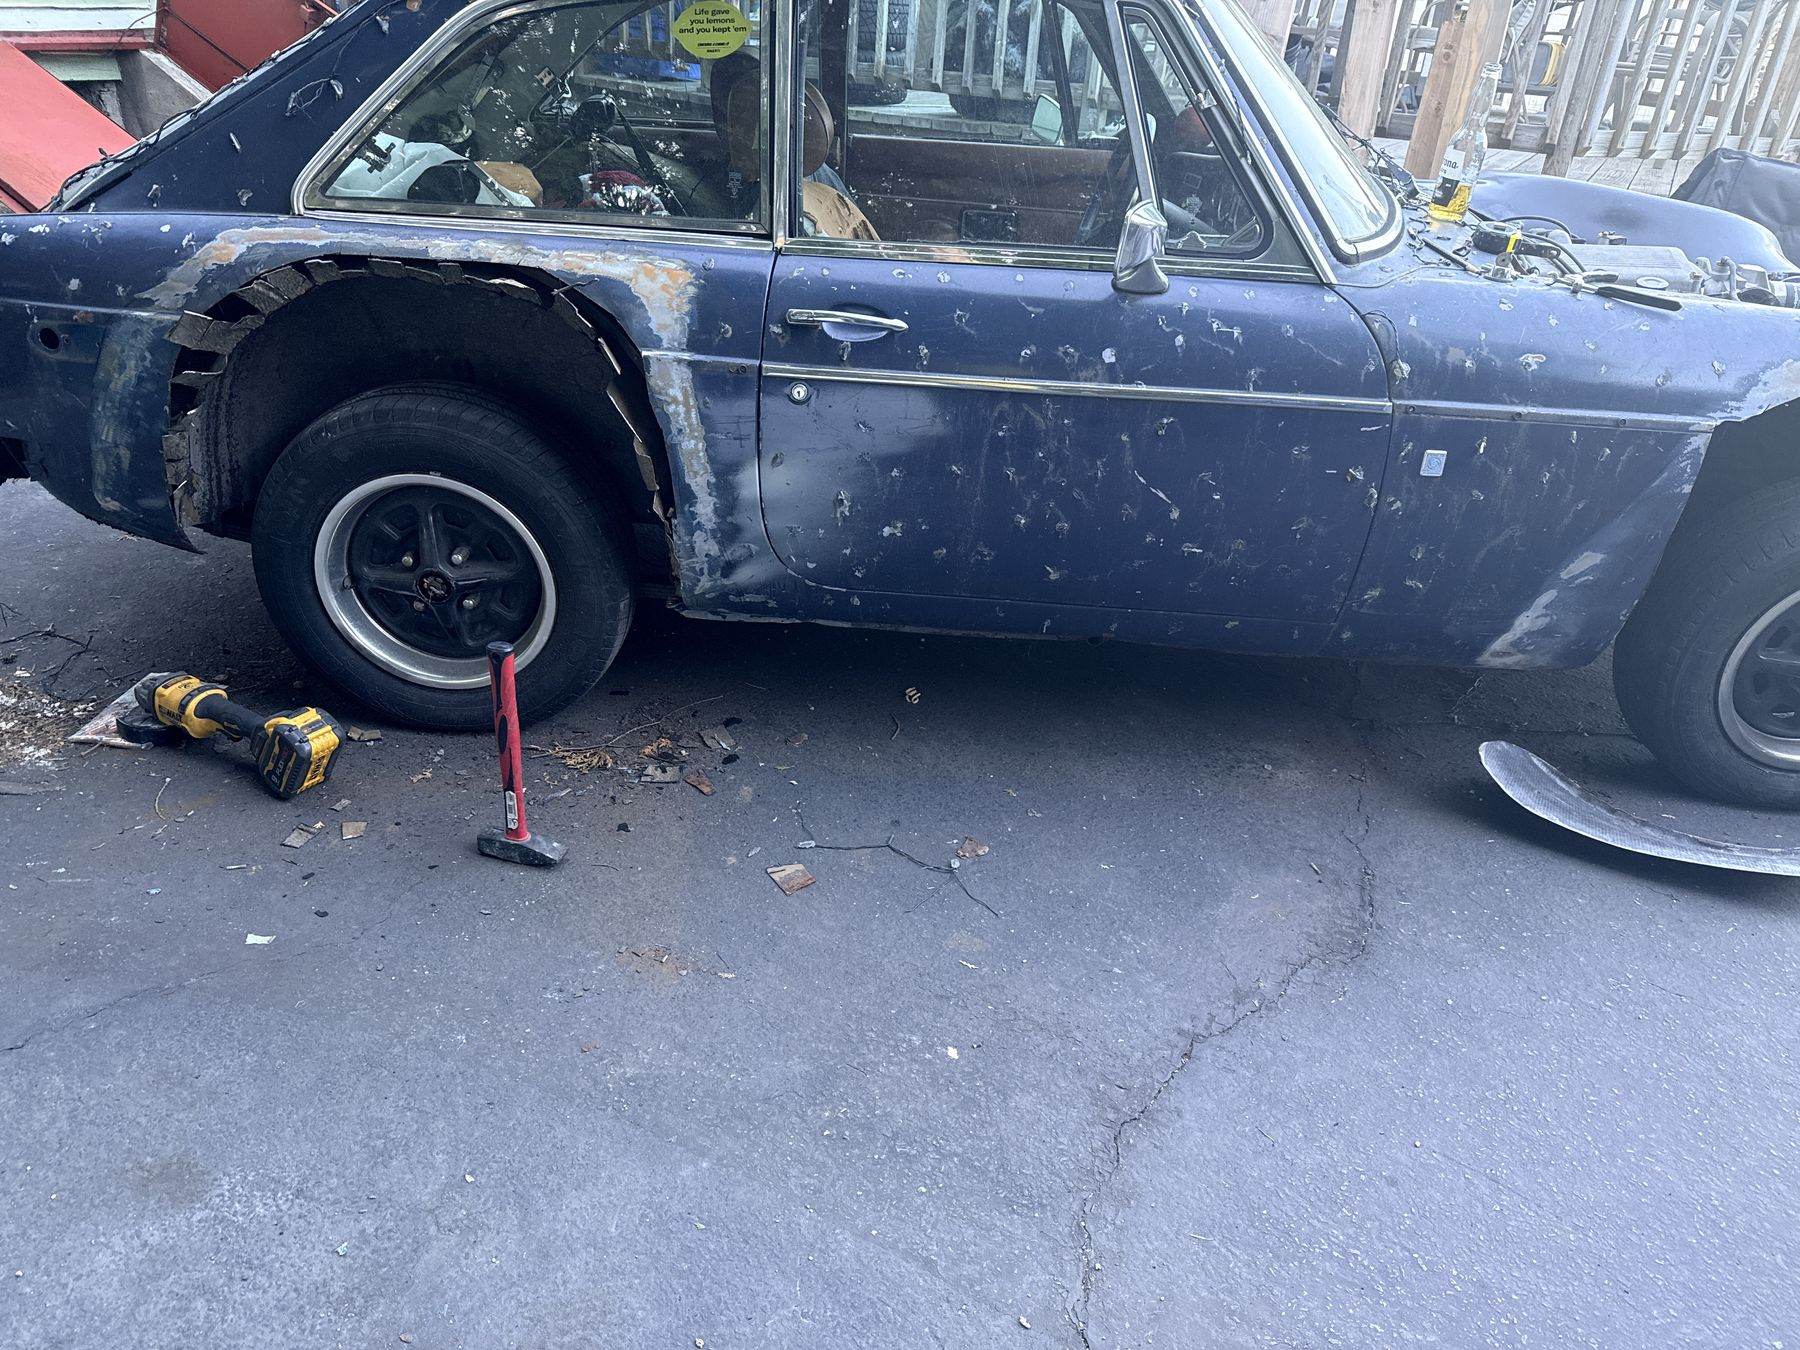
Crusty is the shop's rust bucket, kept for fun and for trying out parts. Here the rear arch is being cut back for a set of Sebring flares, and here's Crusty decked out for Christmas.

Part shown: MGB Sebring Style Flares
Rear Sebring Flare Install
Photos and notes from a customer in Ontario (thanks, Yves!) installing the rear Sebring flares.
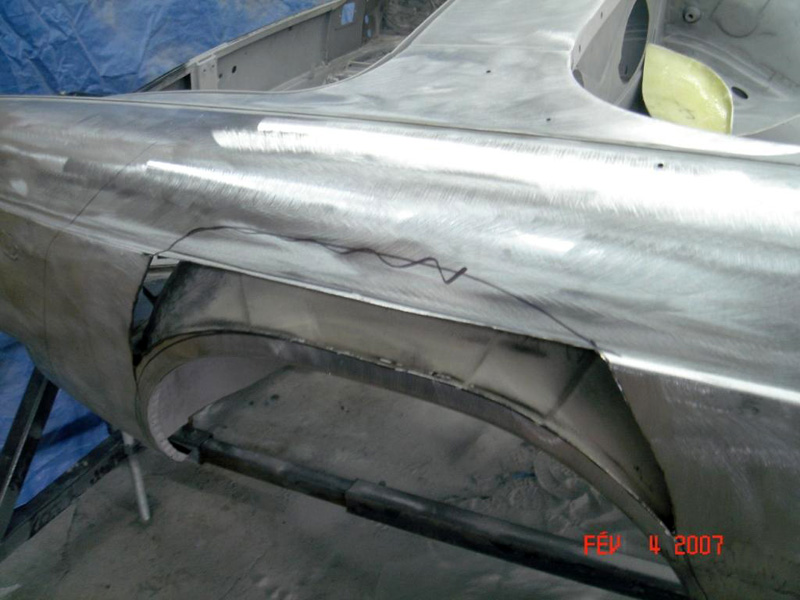
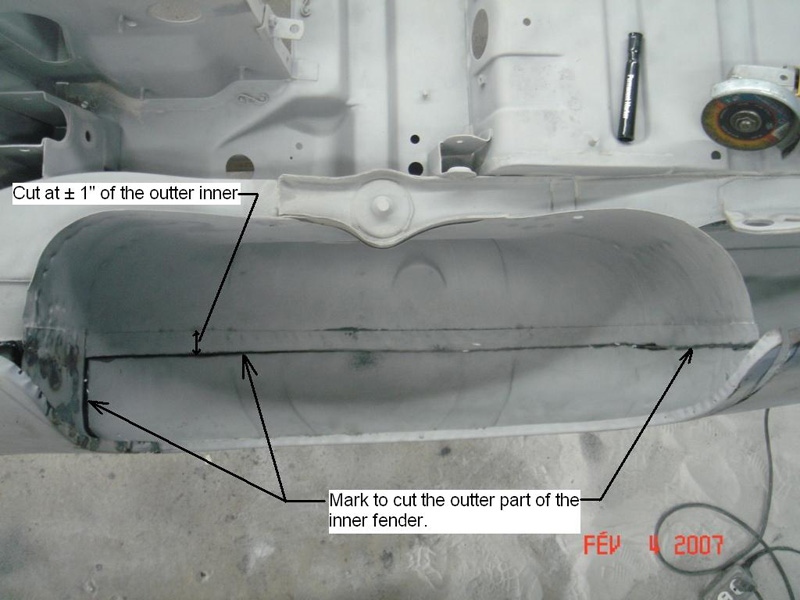
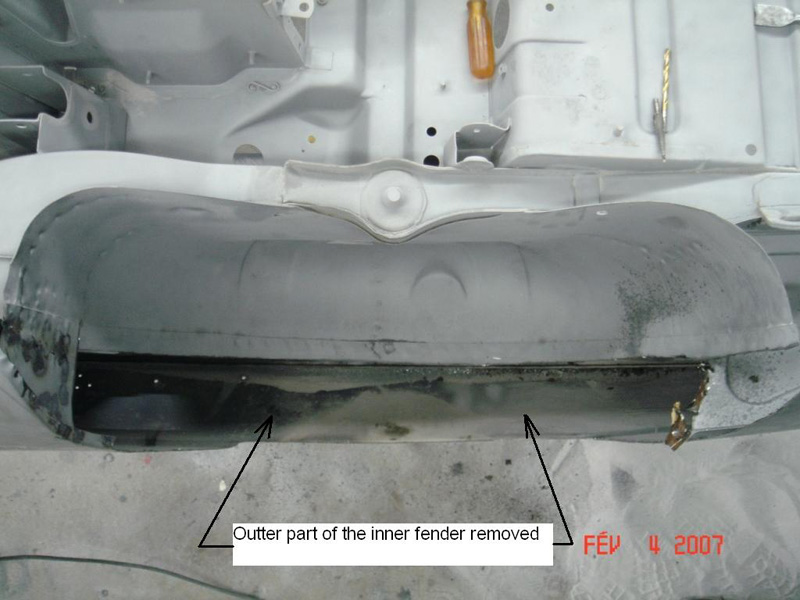
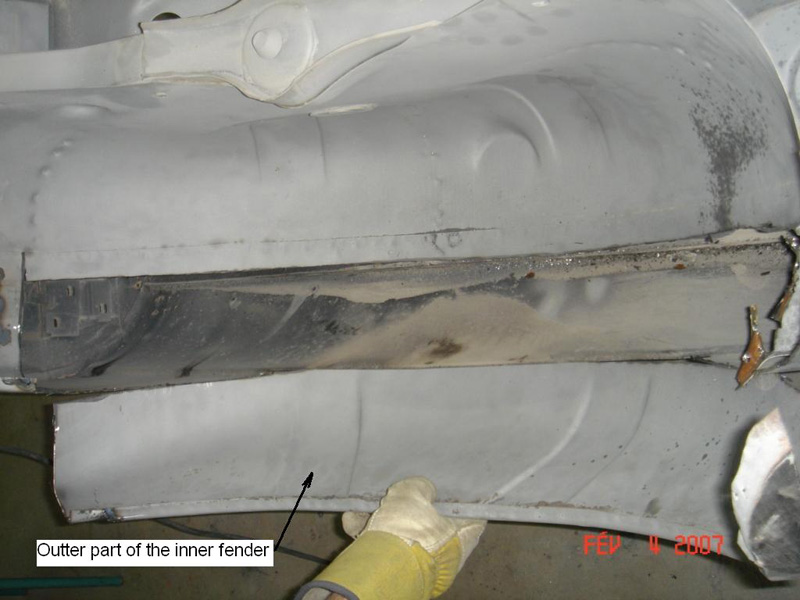
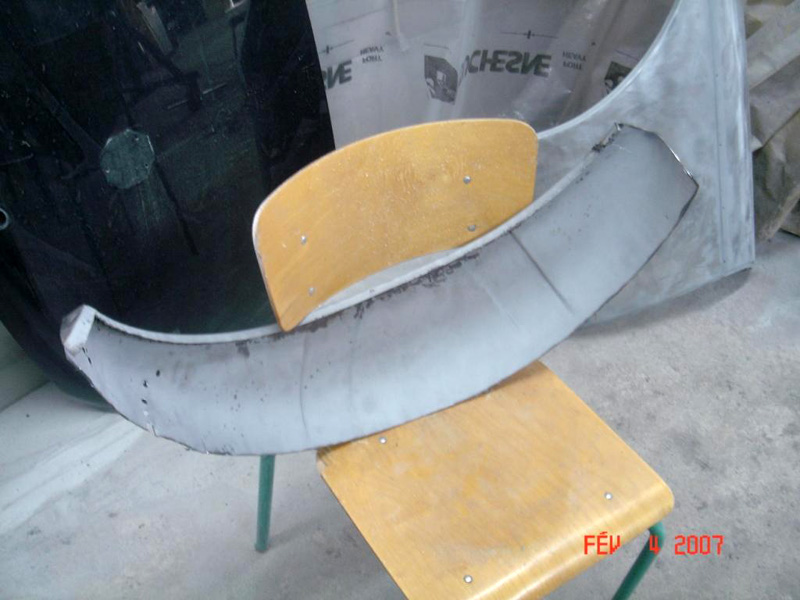
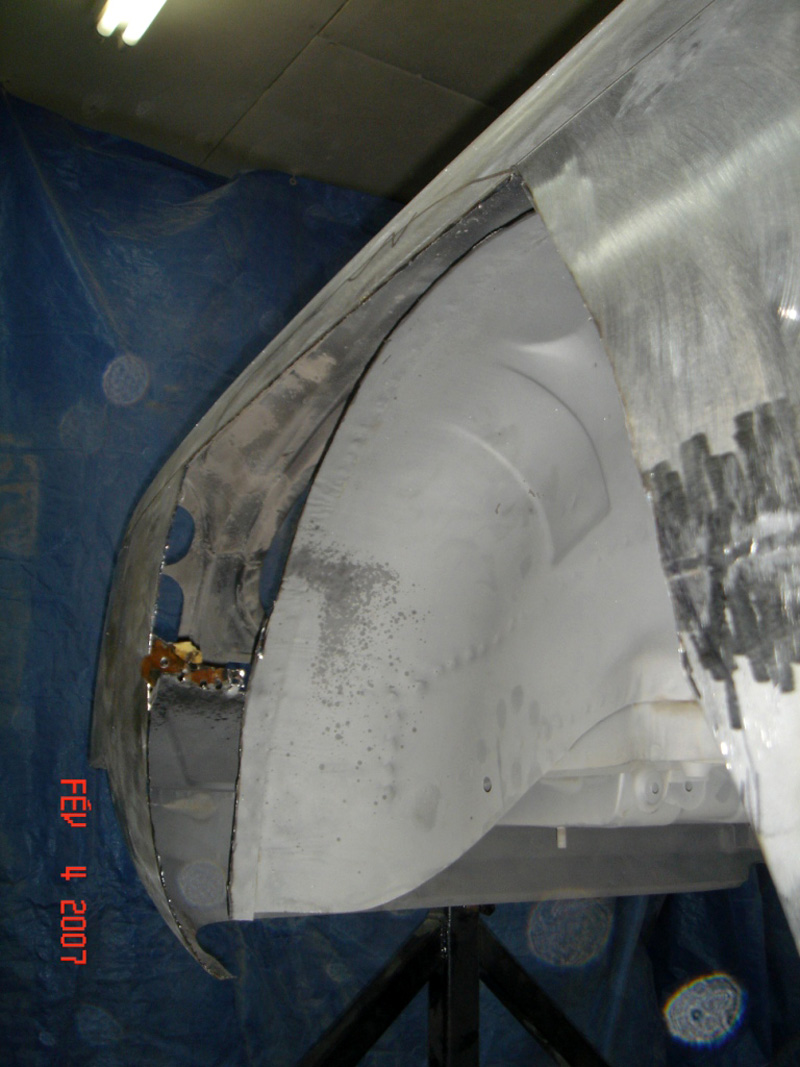
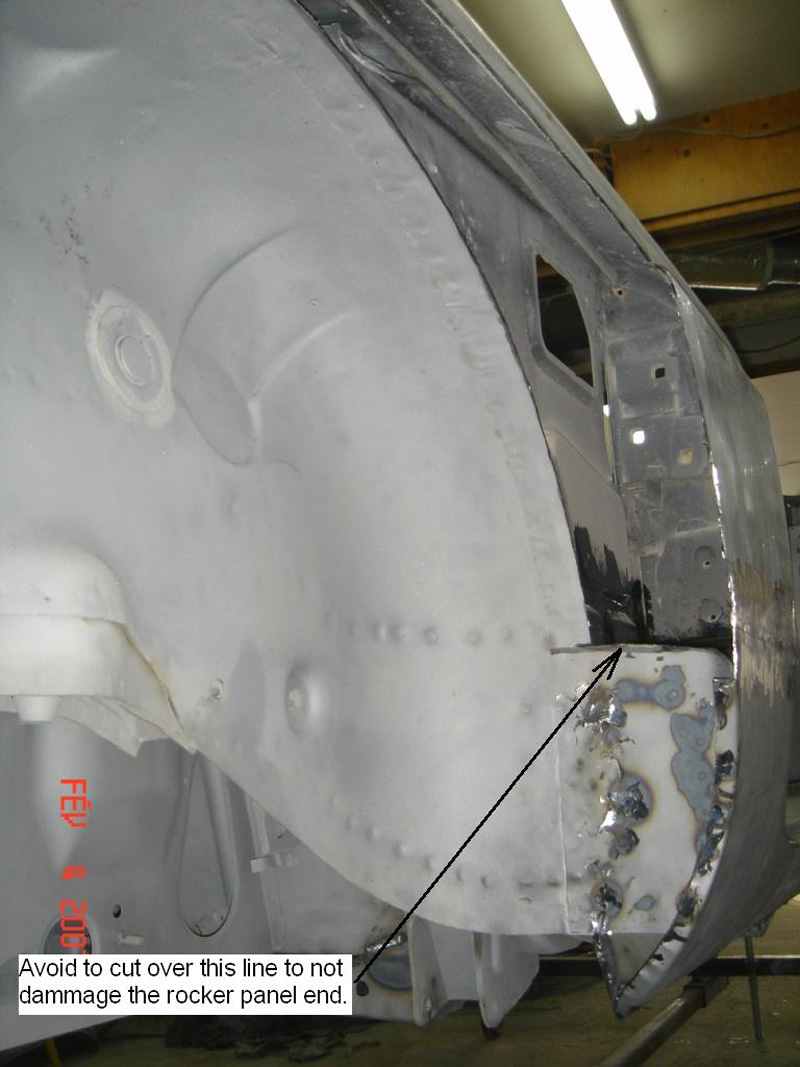
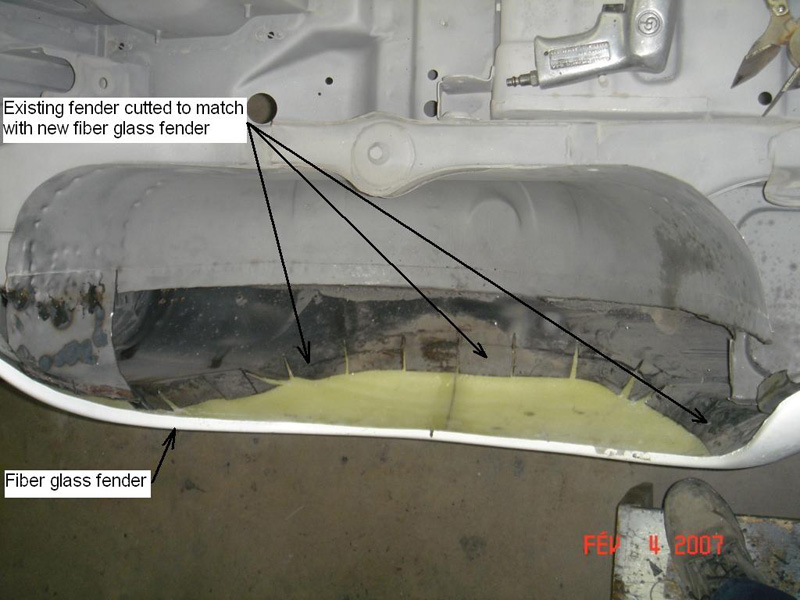
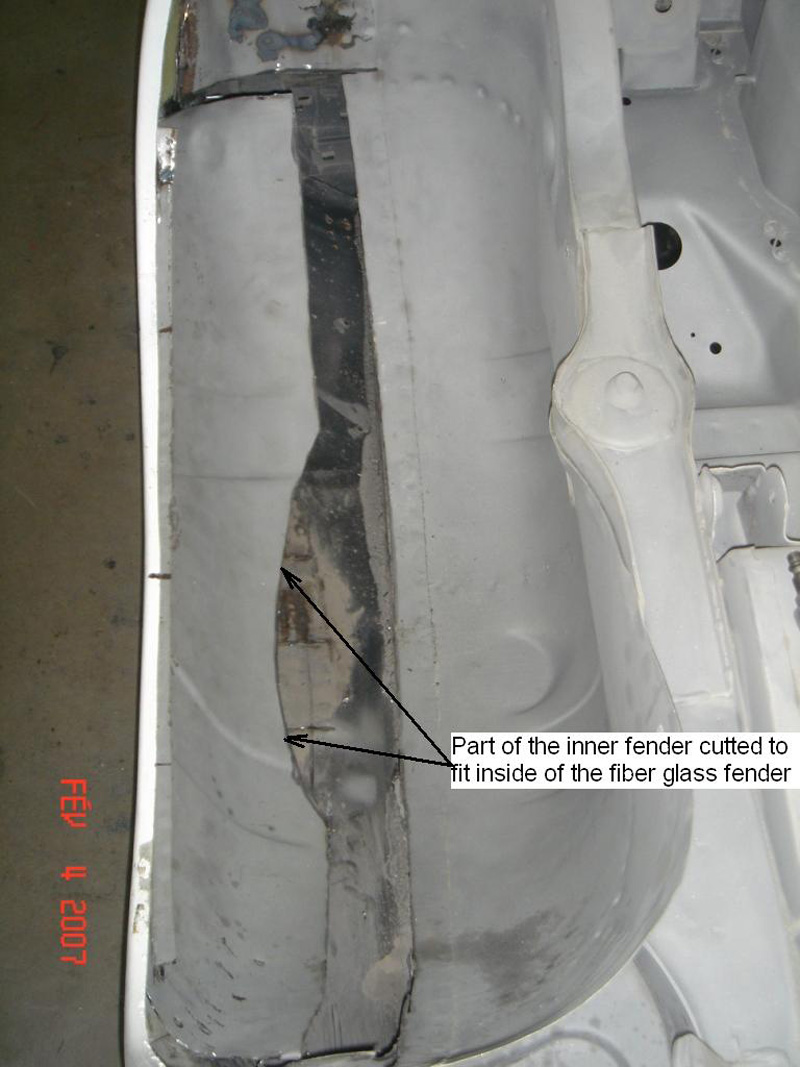
Part shown: MGB Sebring Style Flares
Customer TR8 Bumper Fascia Installation
A customer sent these photos taken at the shop while his bumper fascias were prepped and installed (Summer 2011).
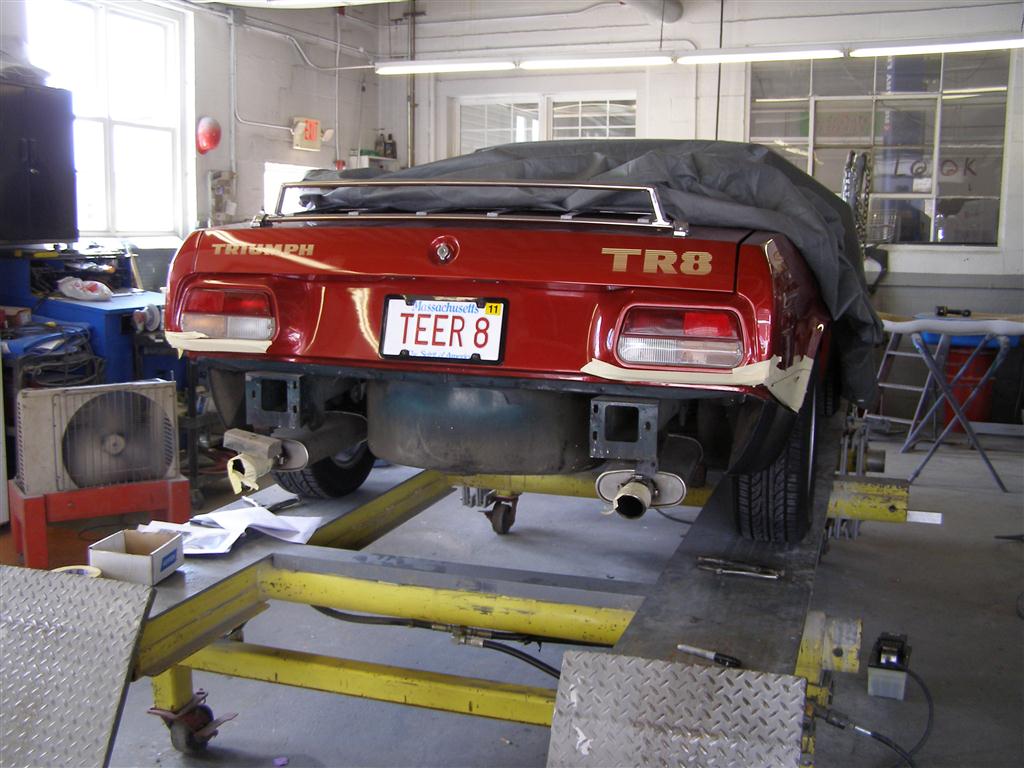
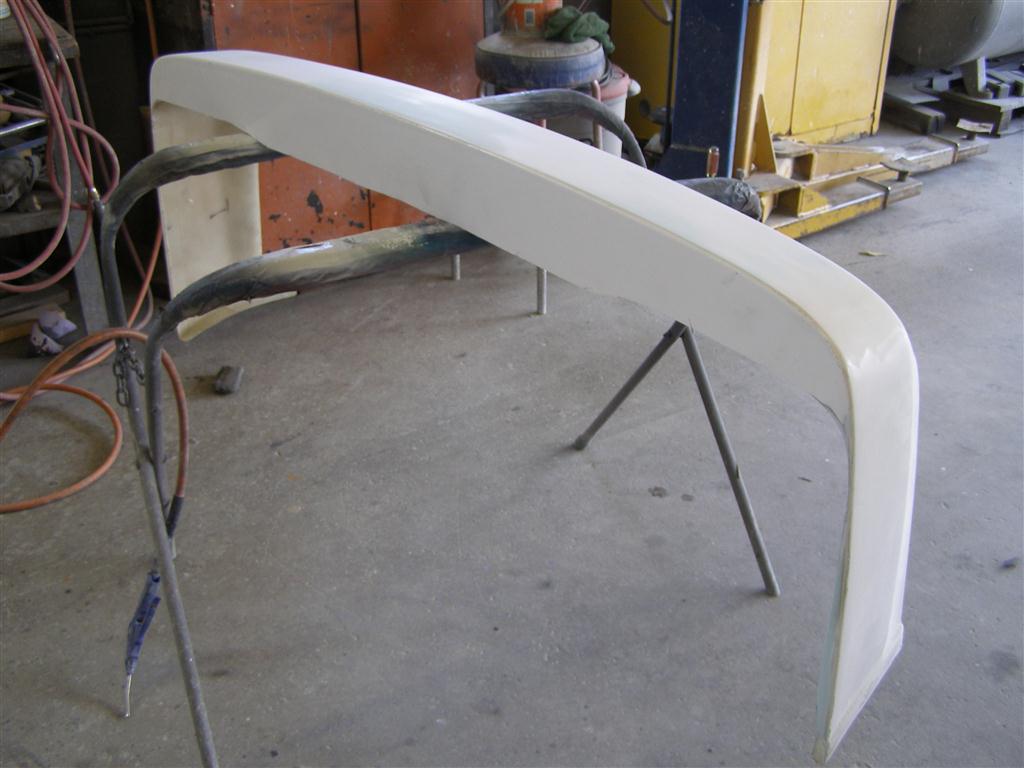
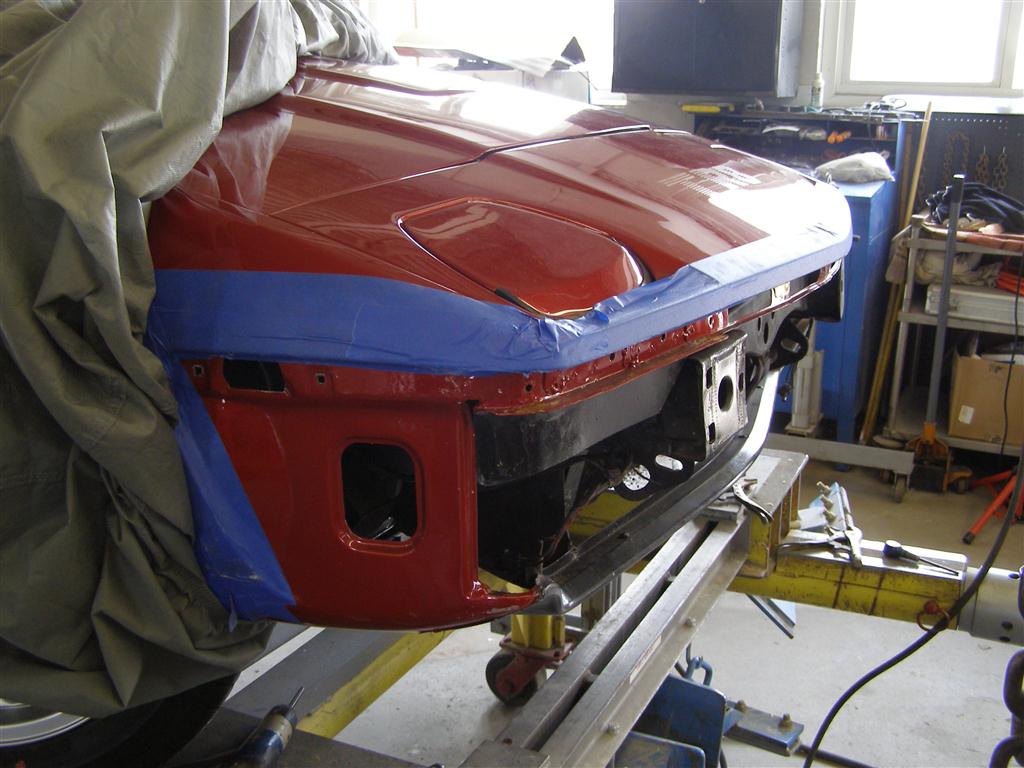
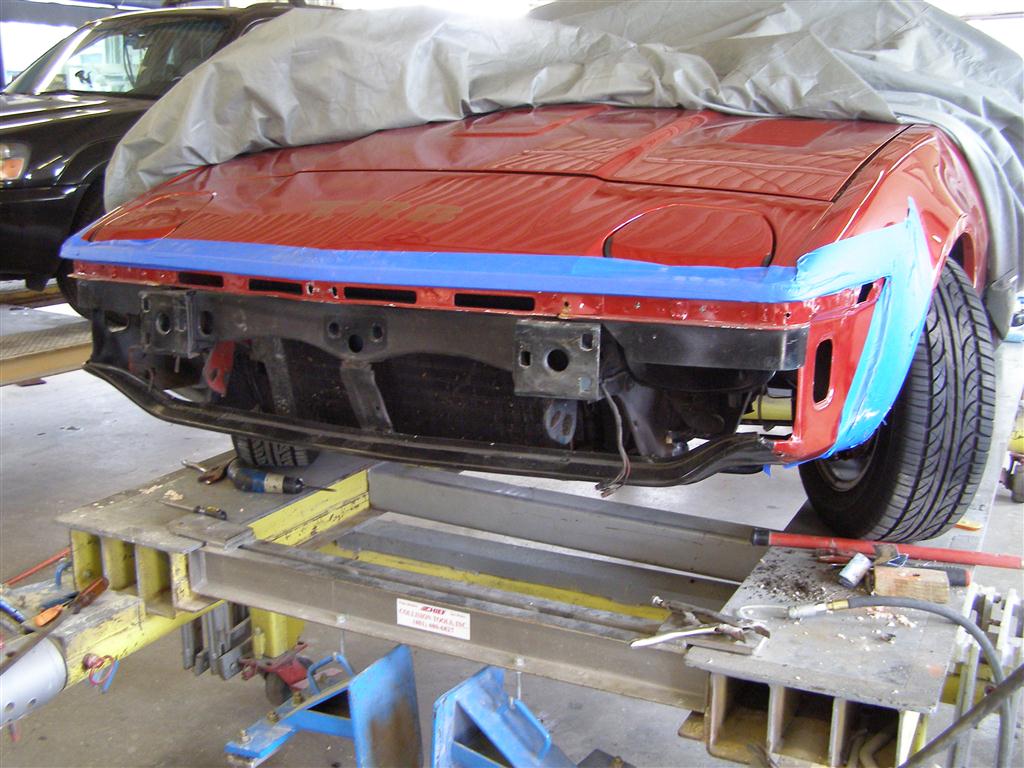
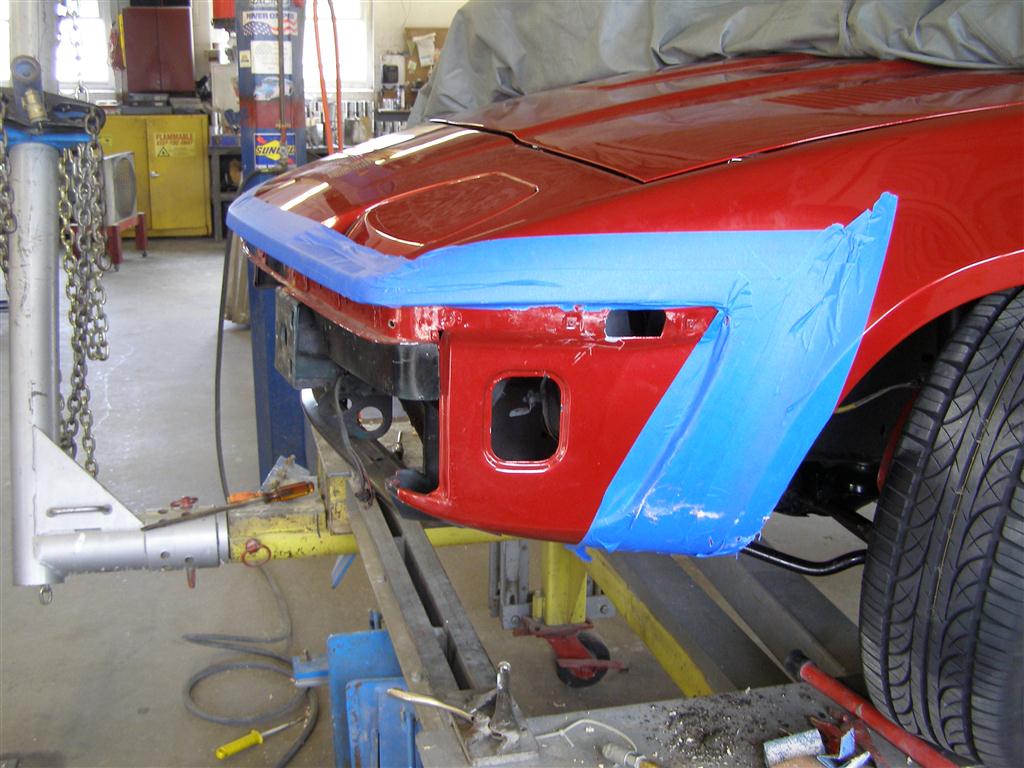
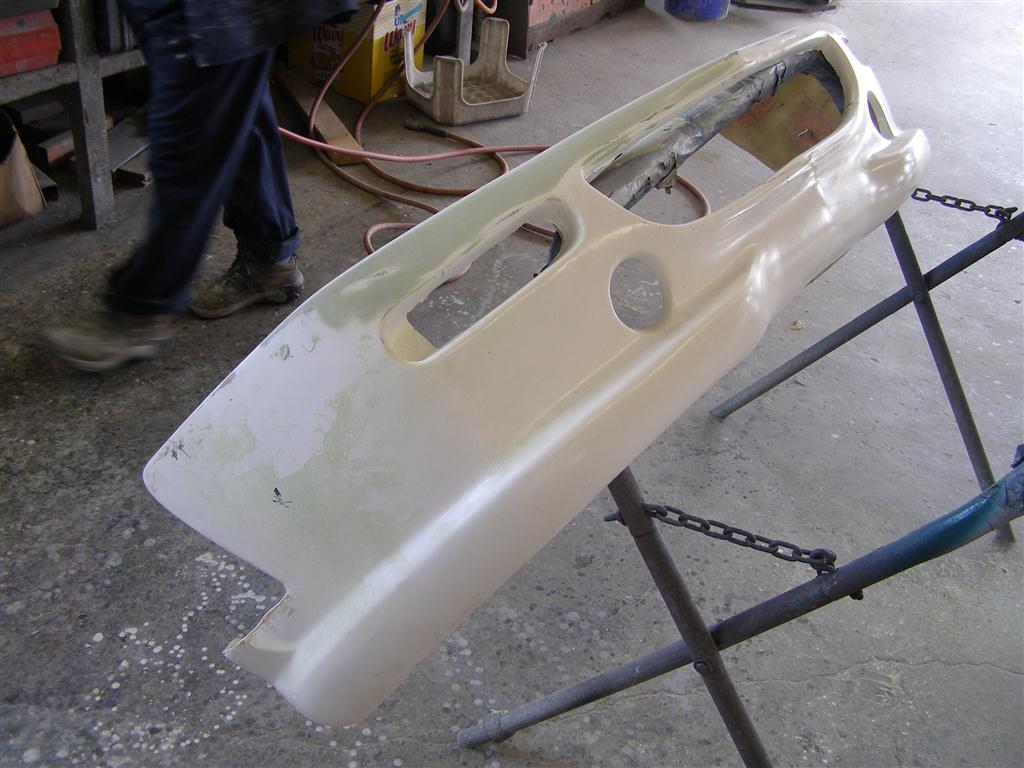
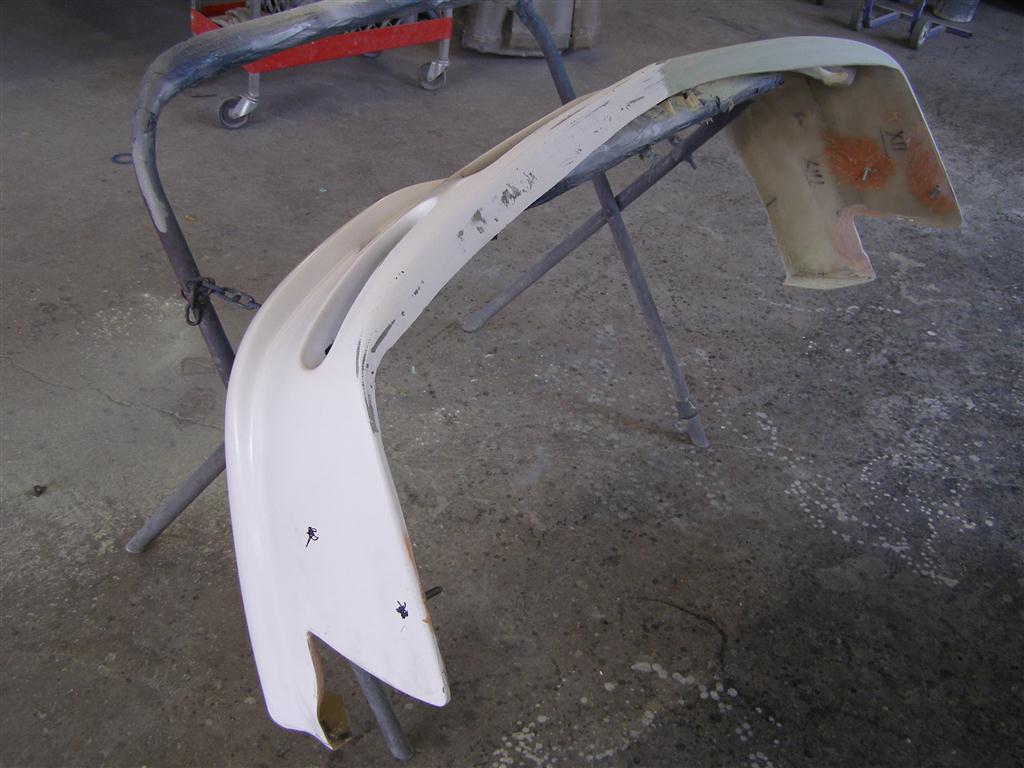
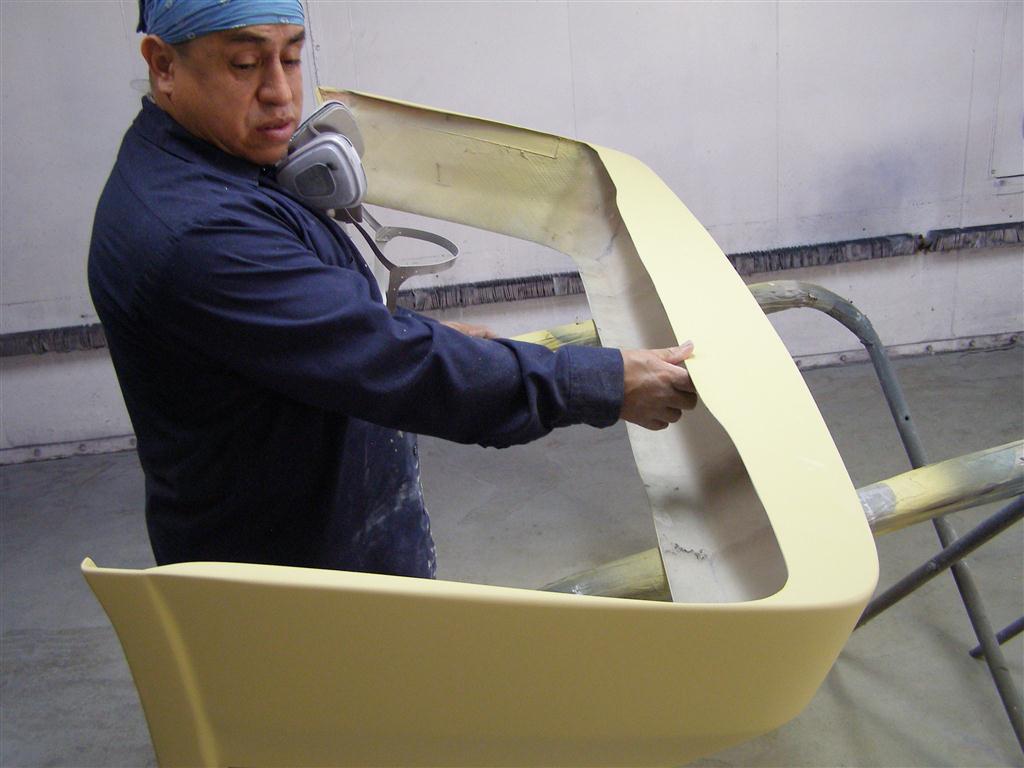
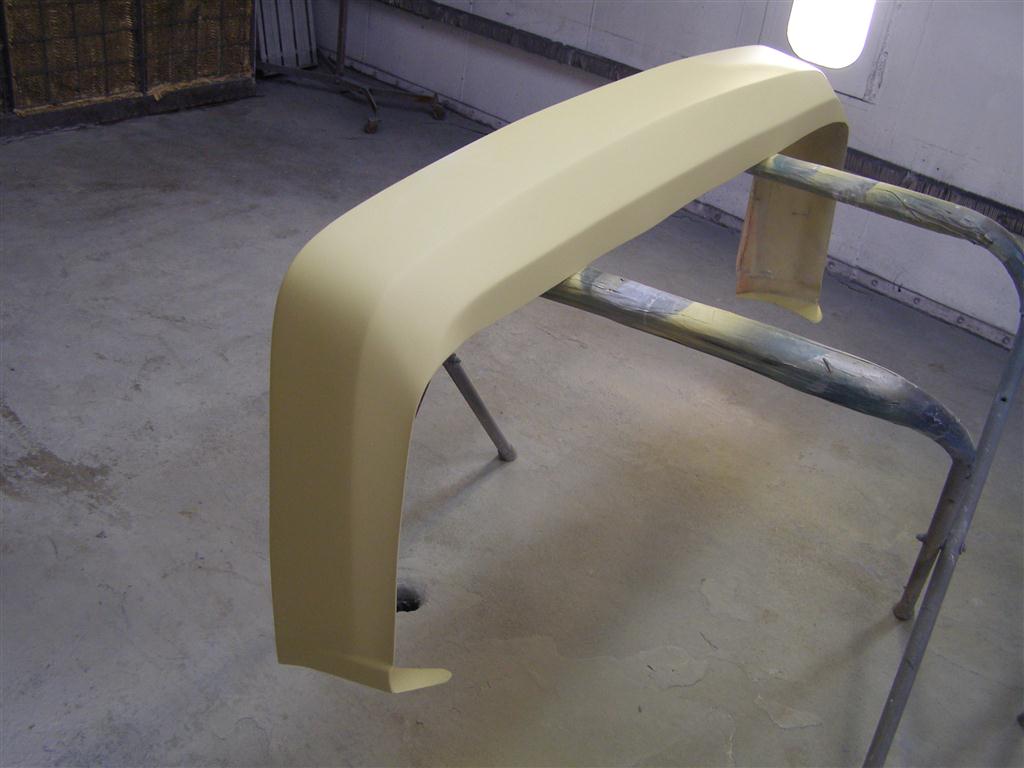
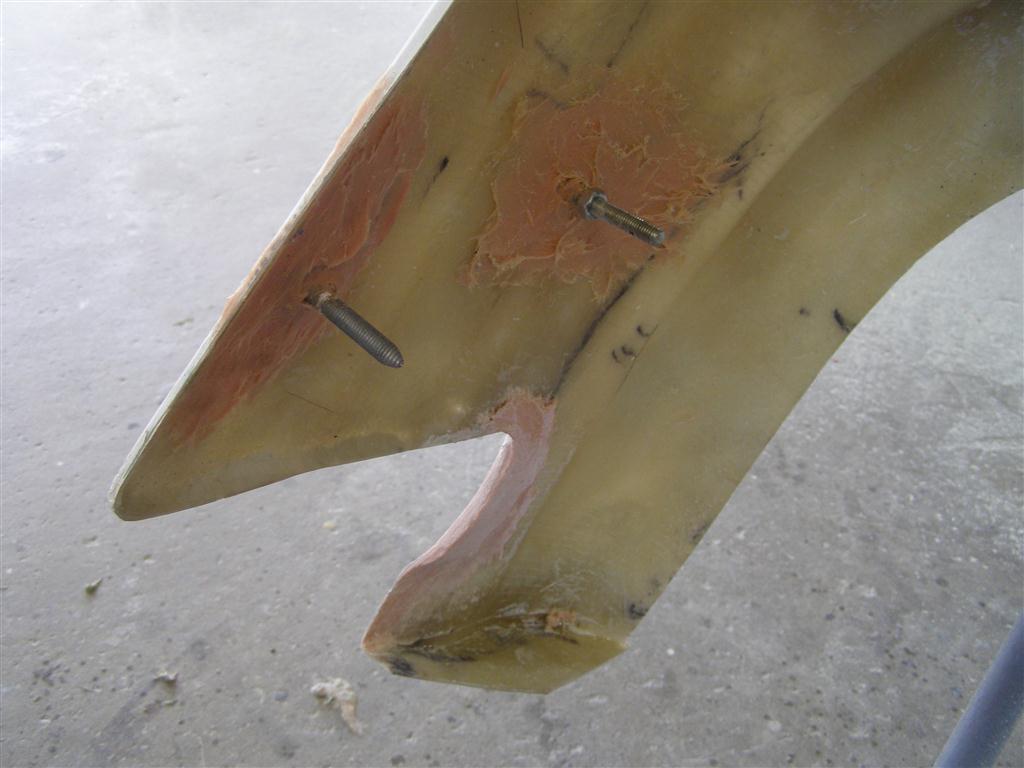
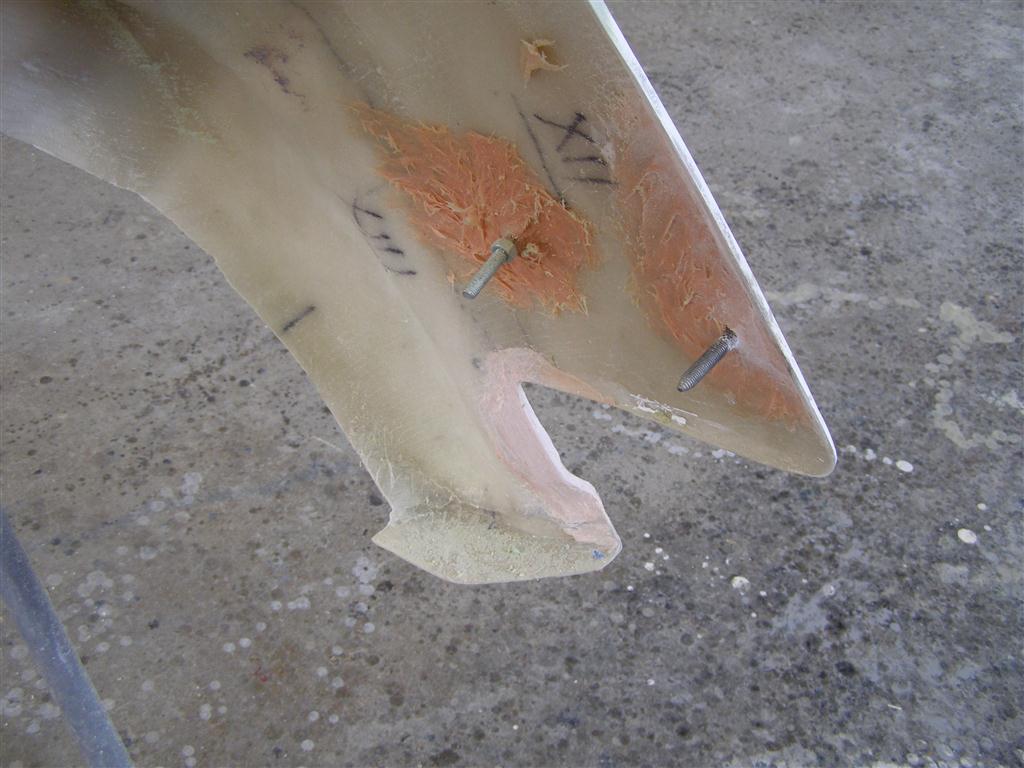
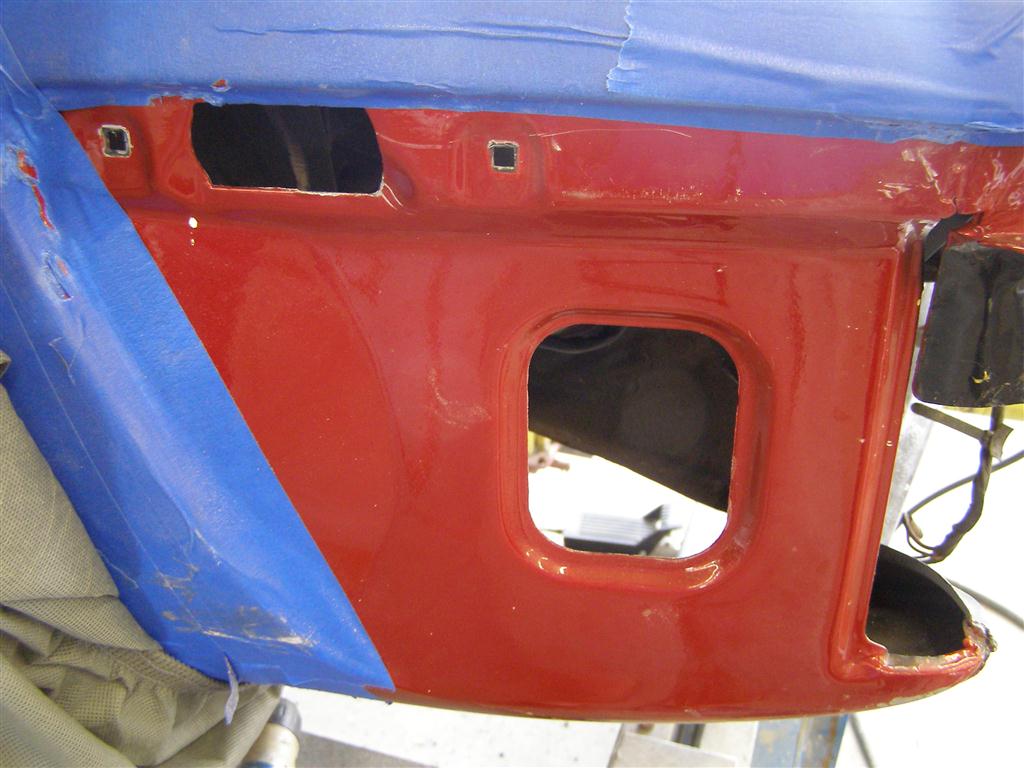
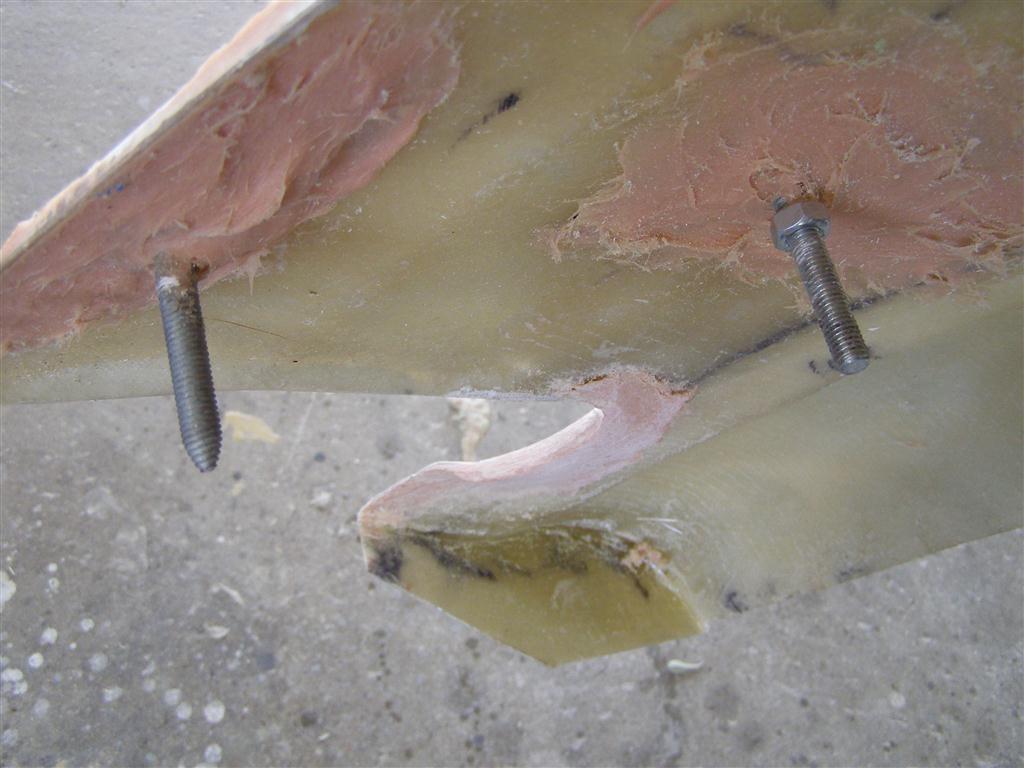
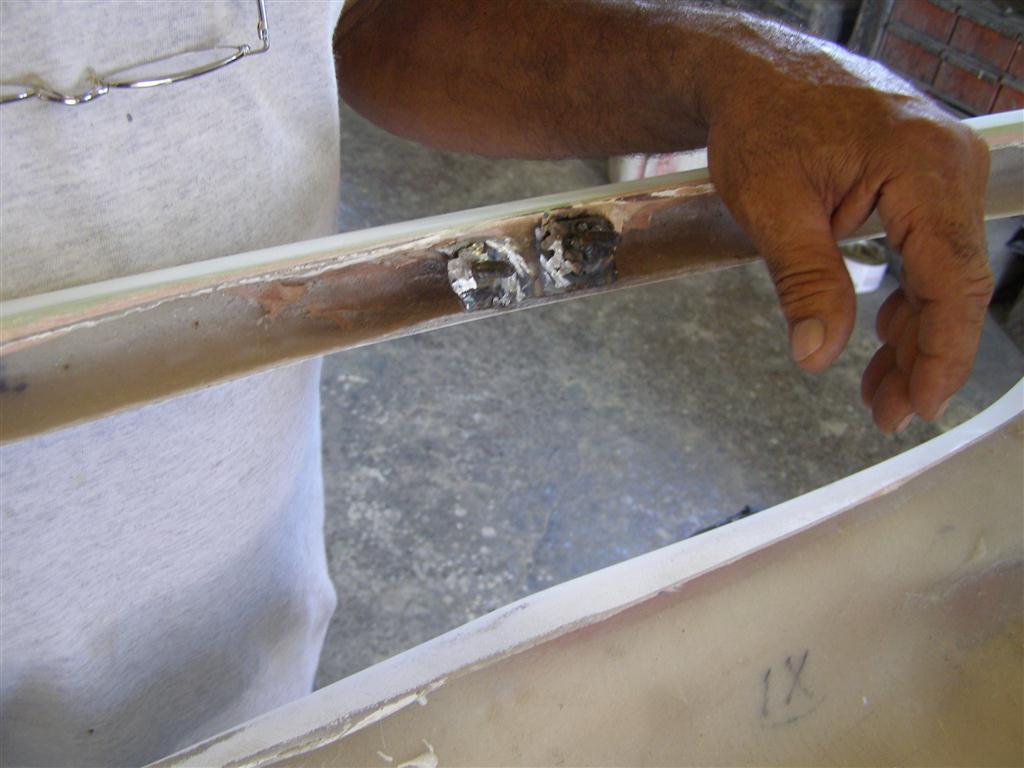
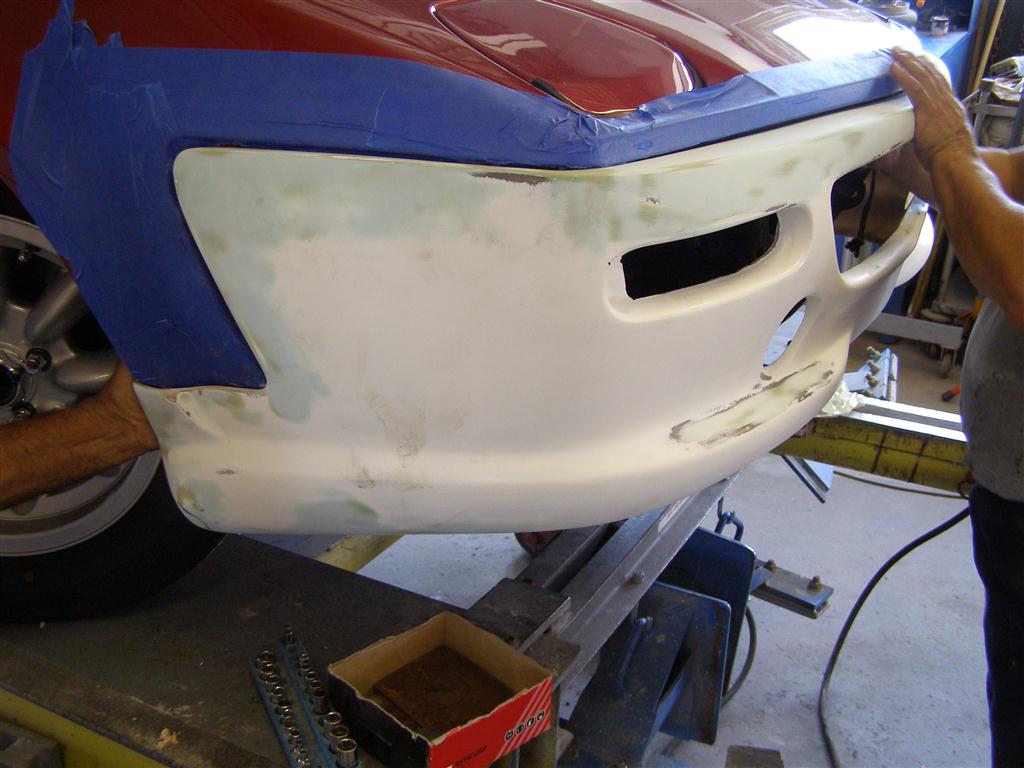
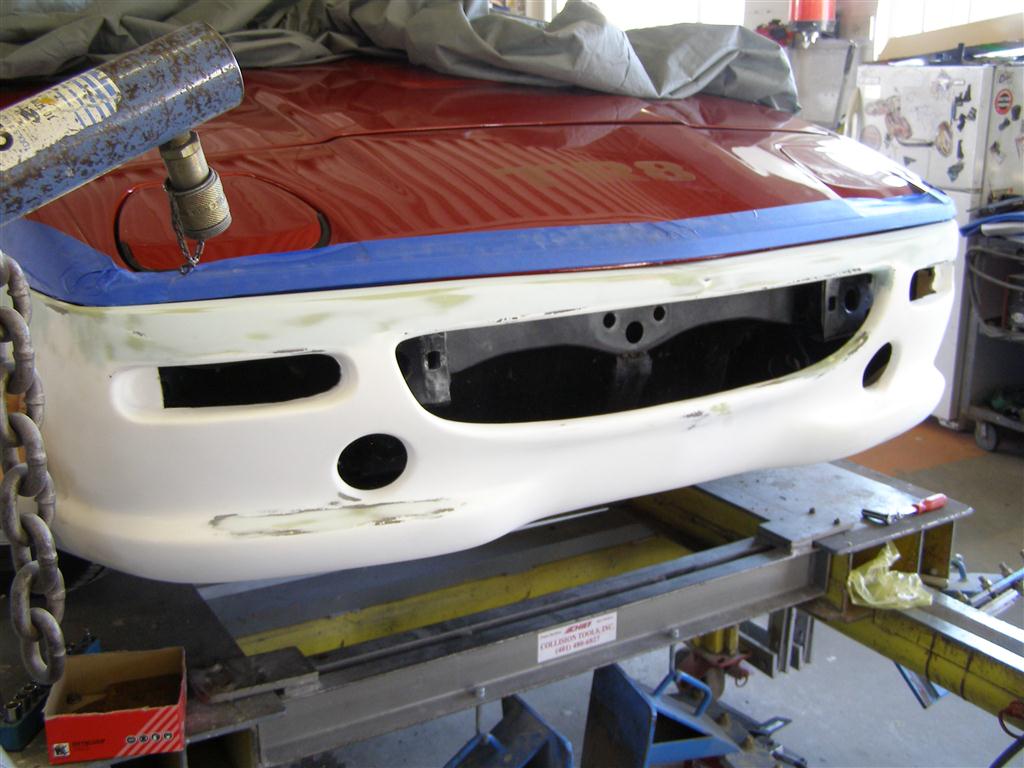
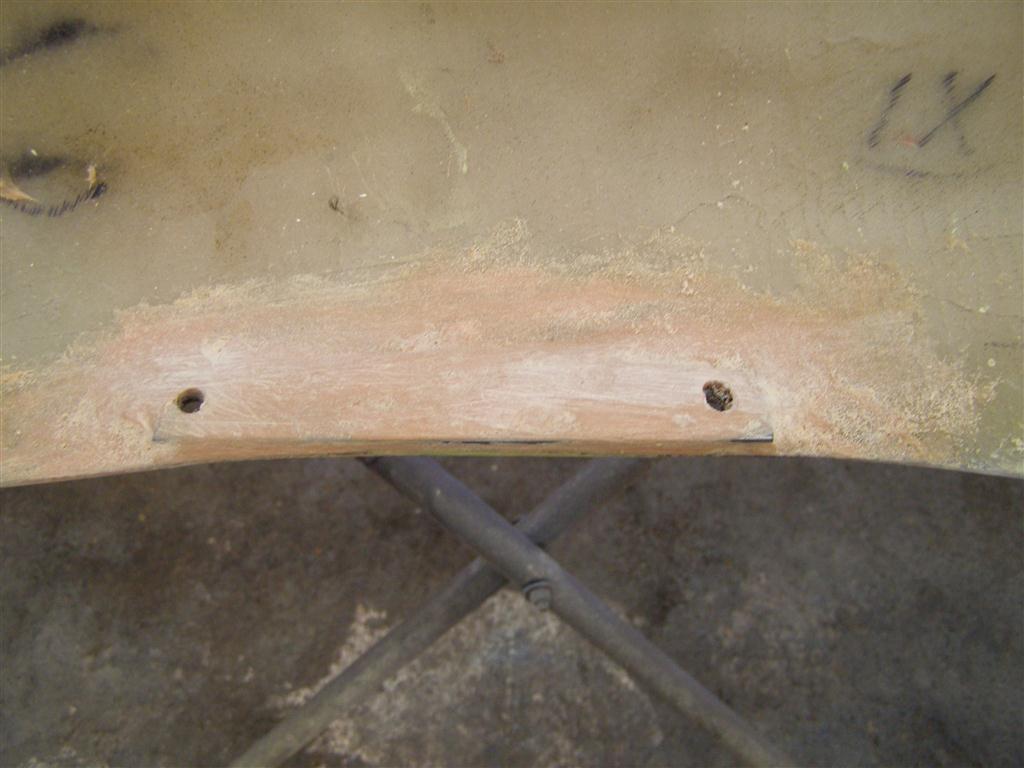
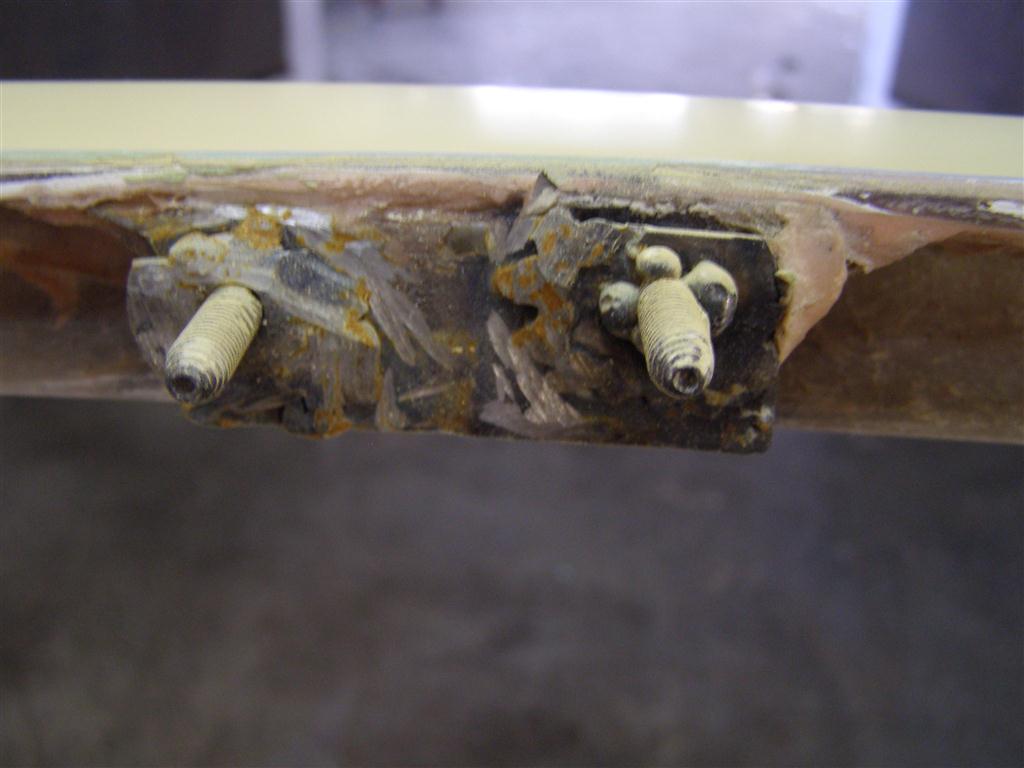
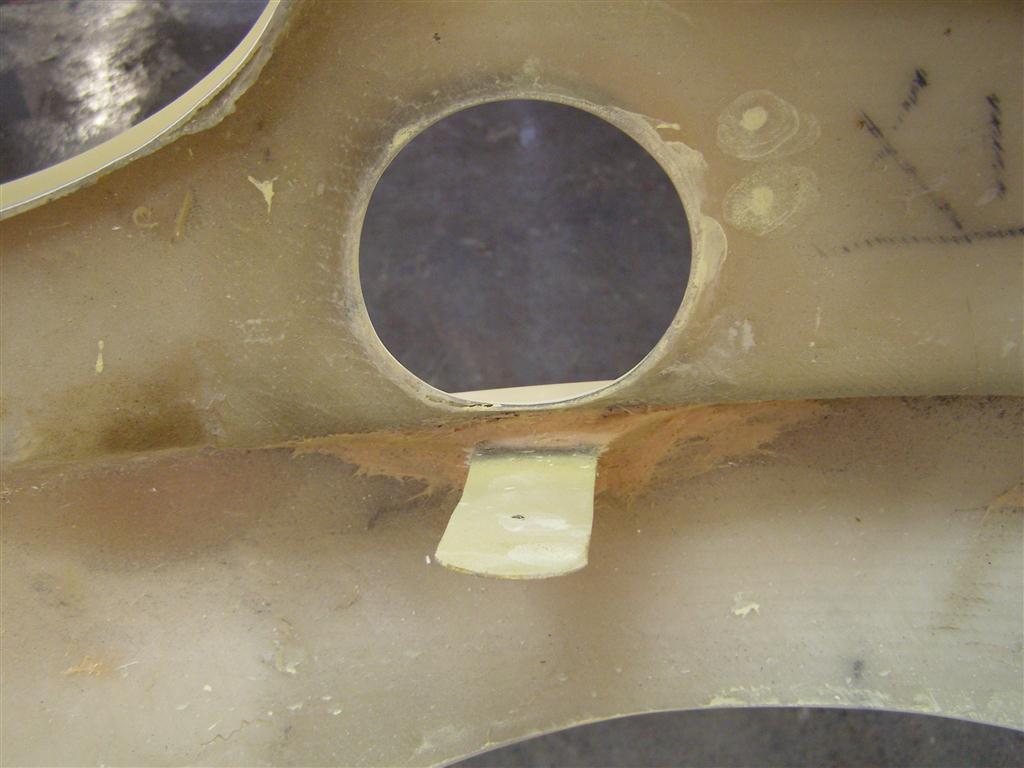
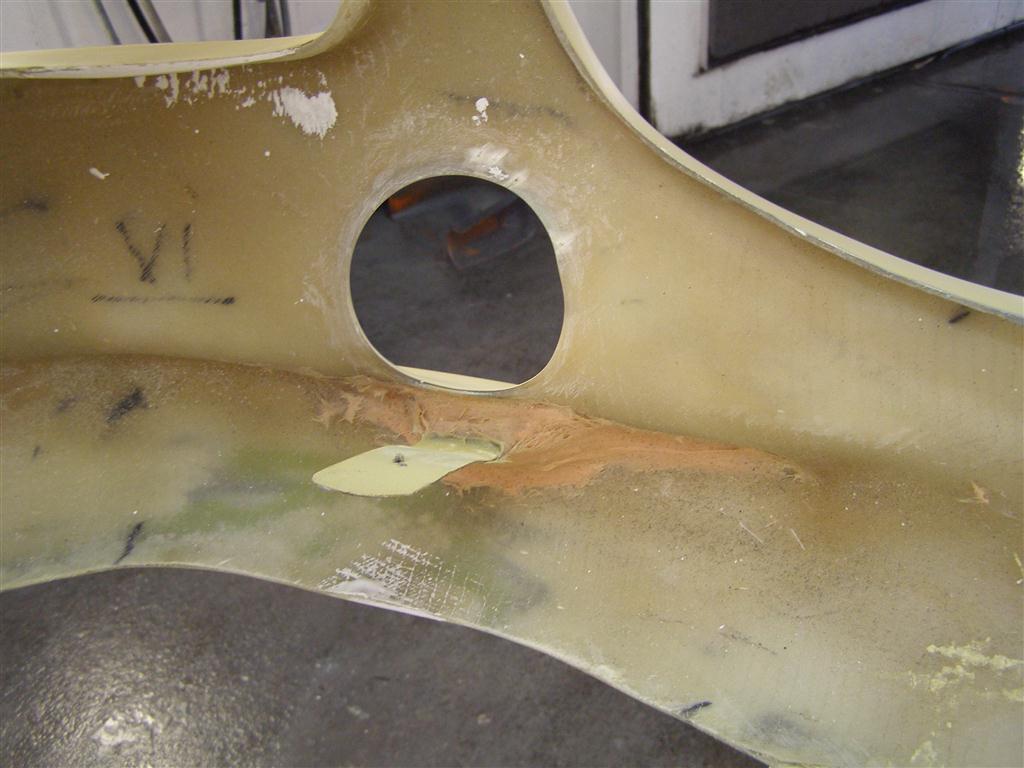
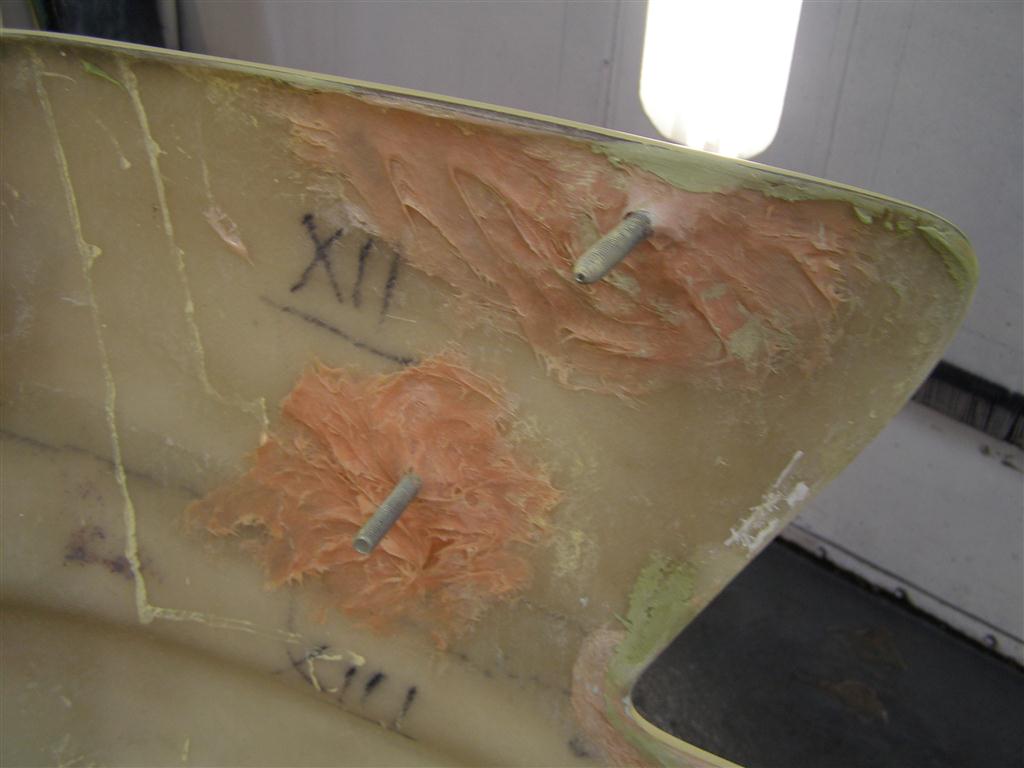
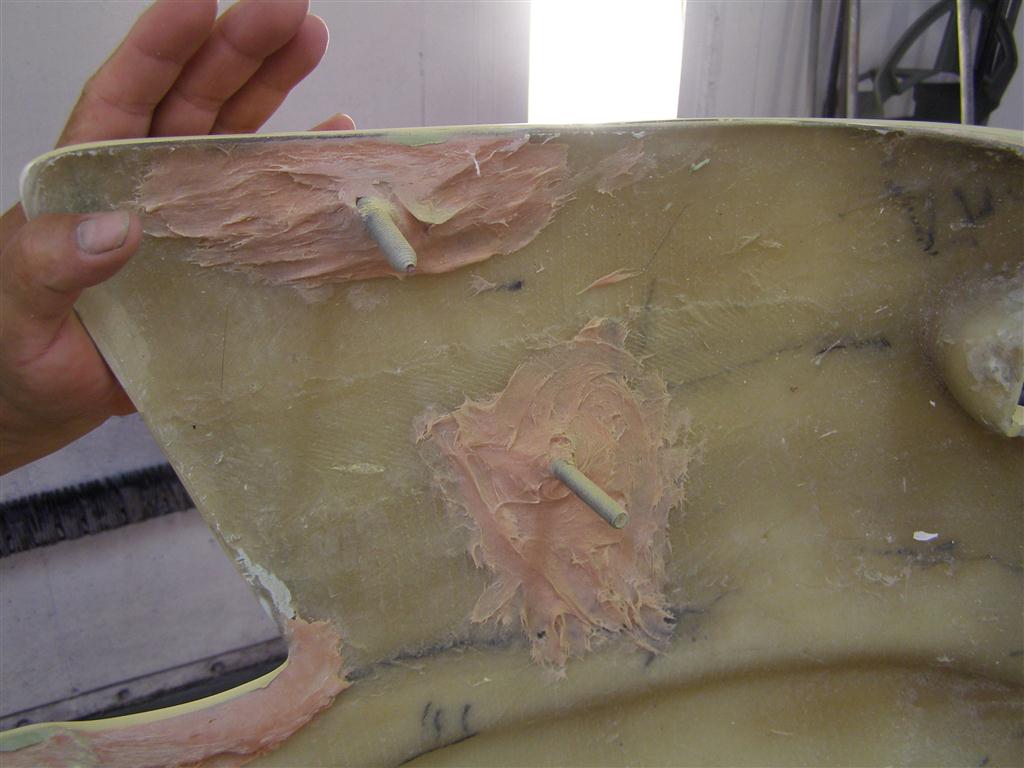
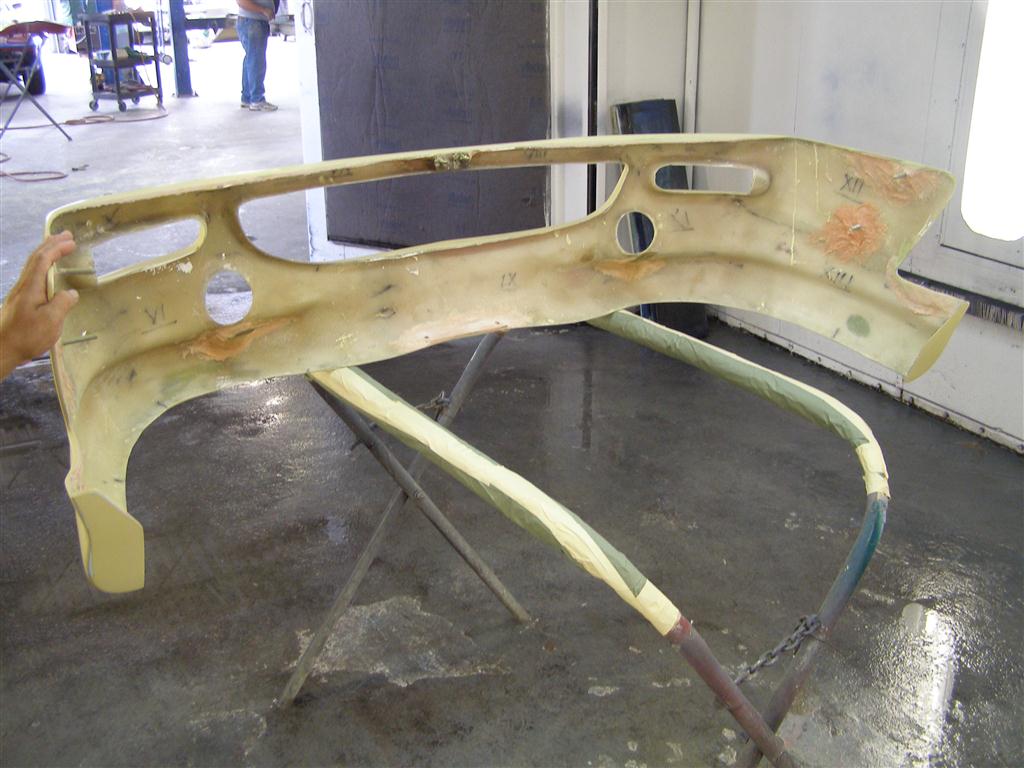
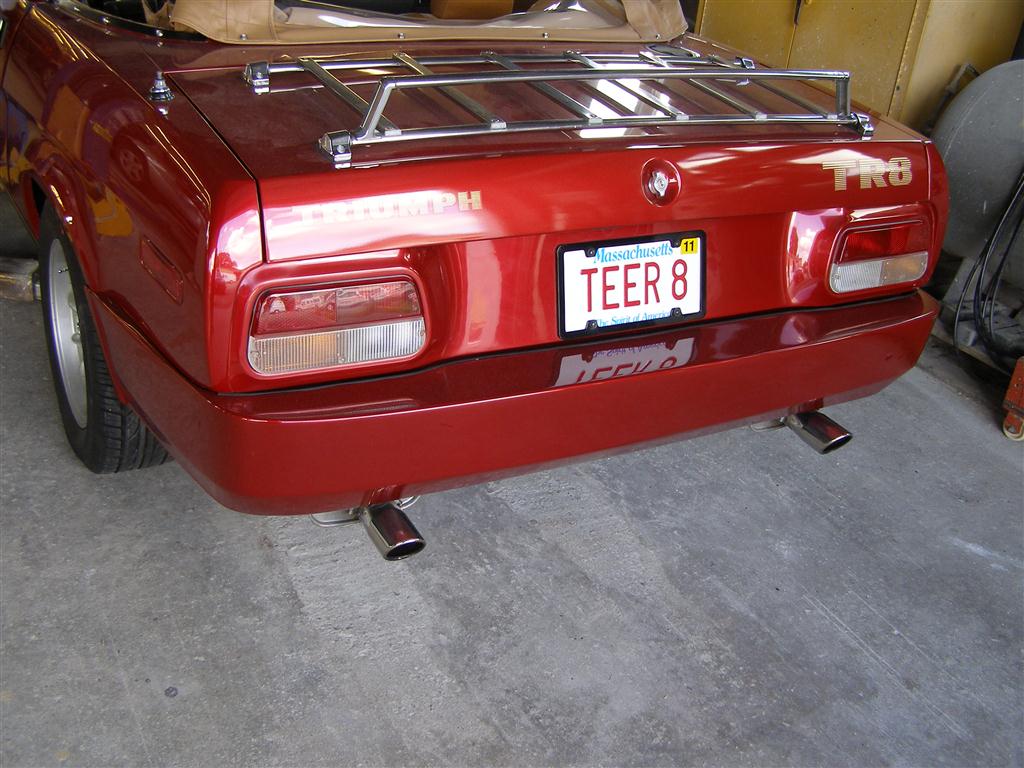
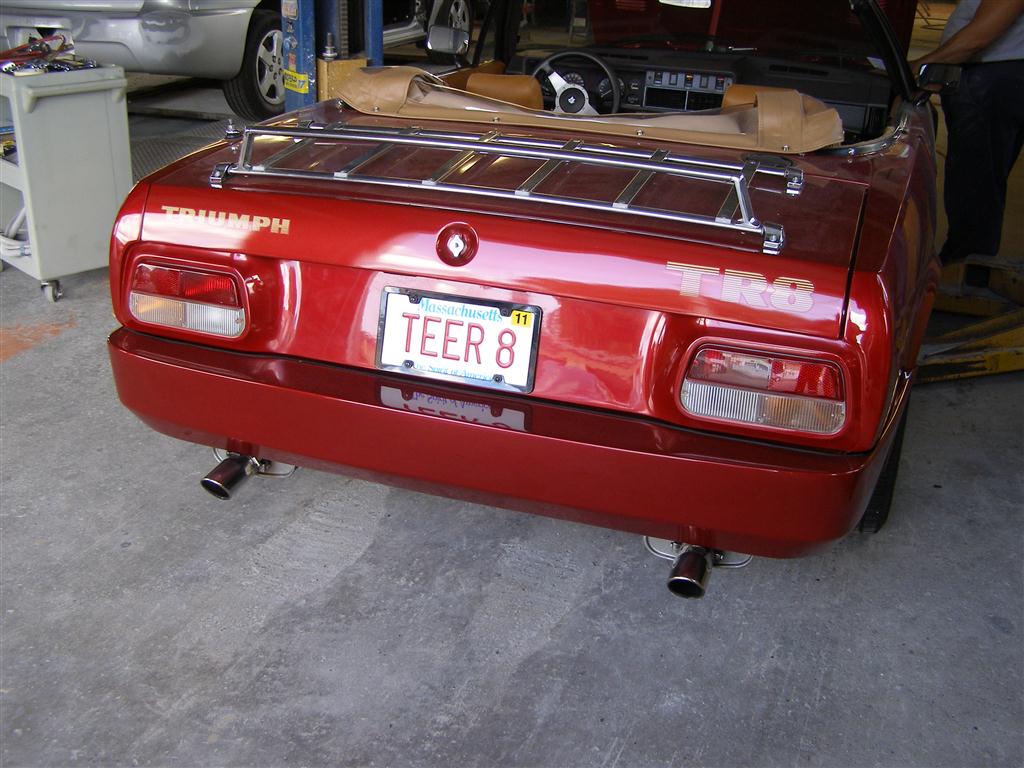
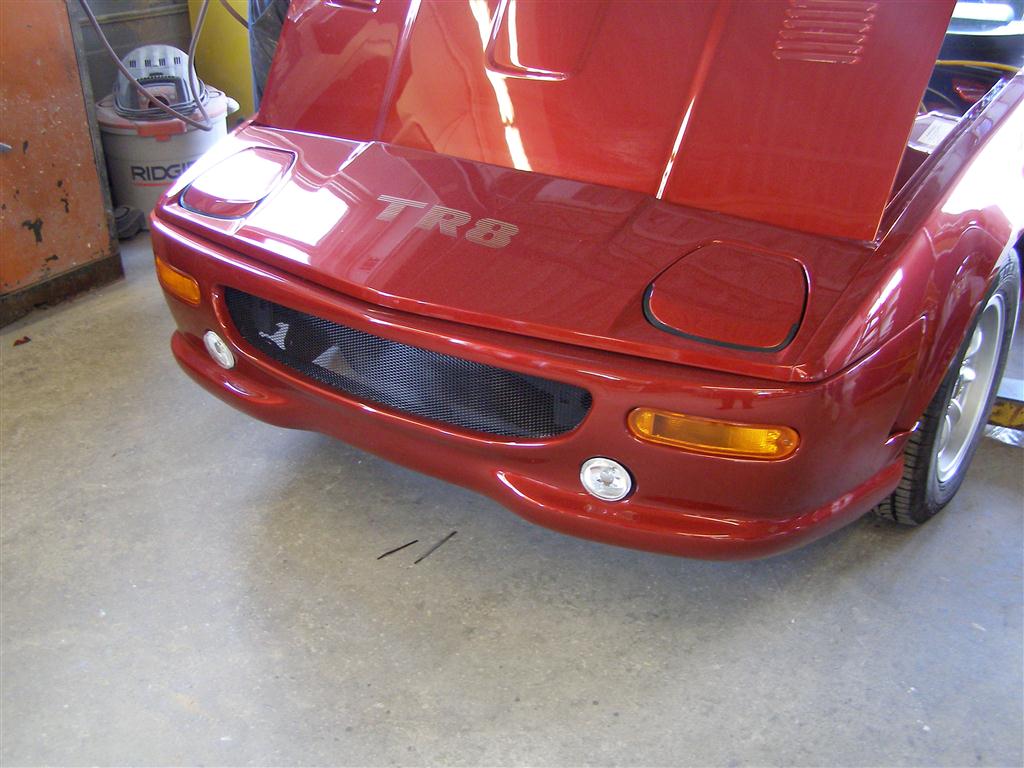
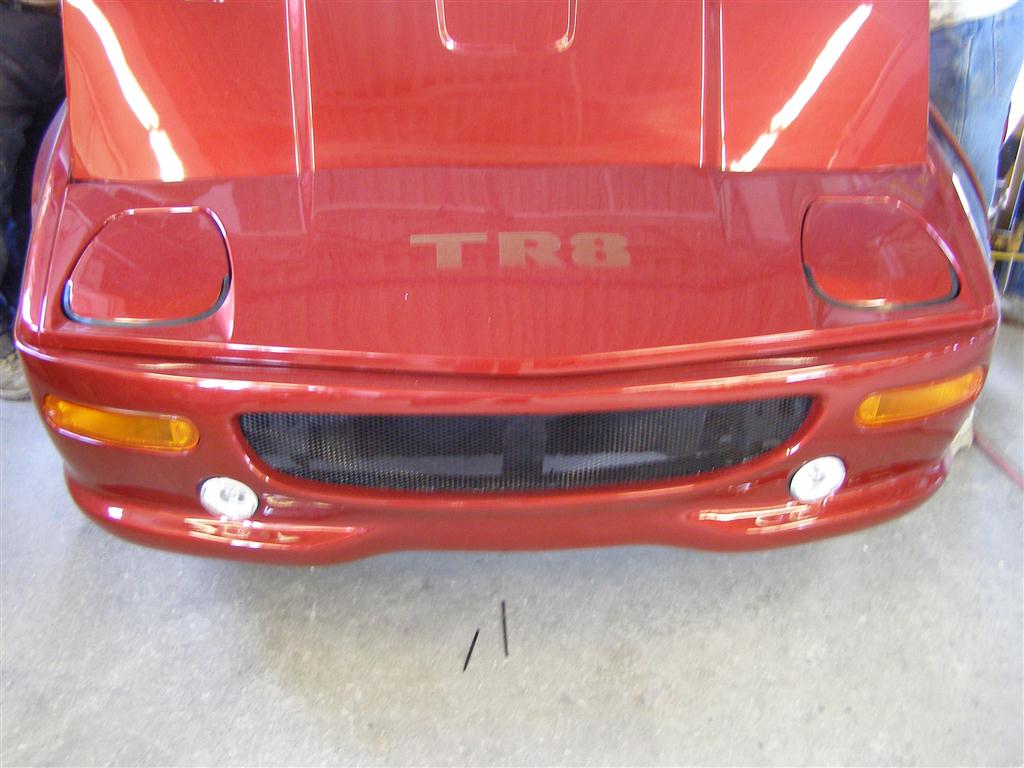
Part shown: TR7/TR8 Front Bumper
Hood Construction
A hood “under clamps” while the hood skin is bonded to its frame.
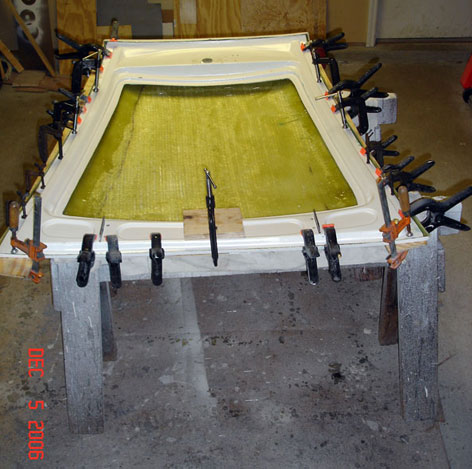
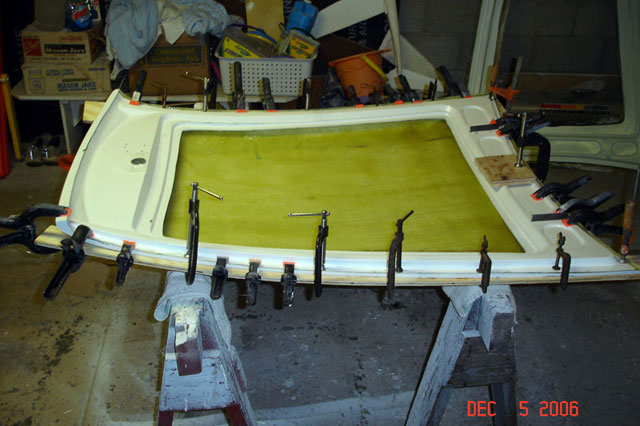
Part shown: MGC Hood
Customer Custom Conversions
Some customers have made, or asked us to make, alterations to their pieces. Harvey in Ohio cut up a V6 cowl to build a custom scoop for his hood.
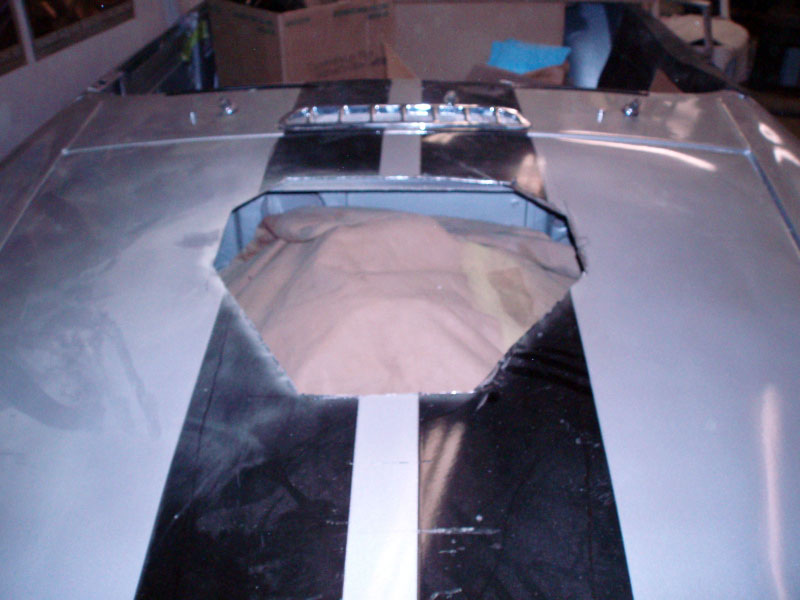
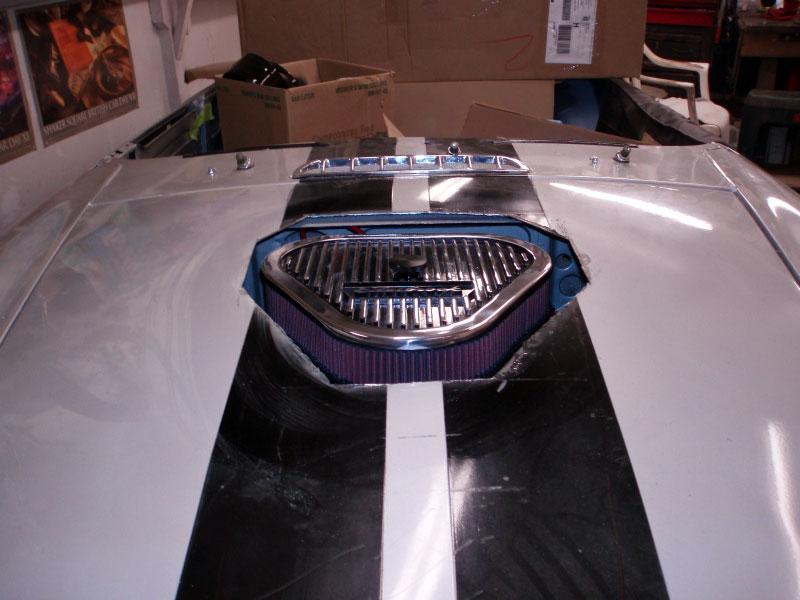
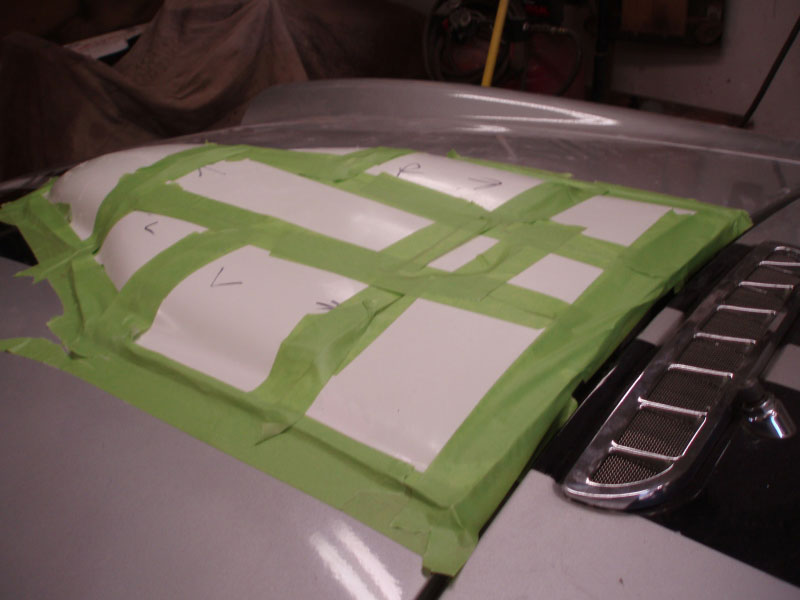
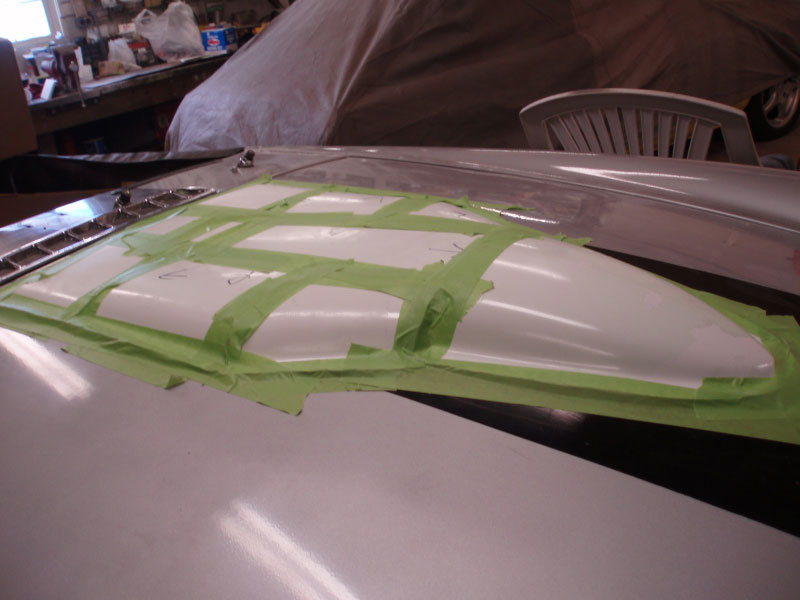
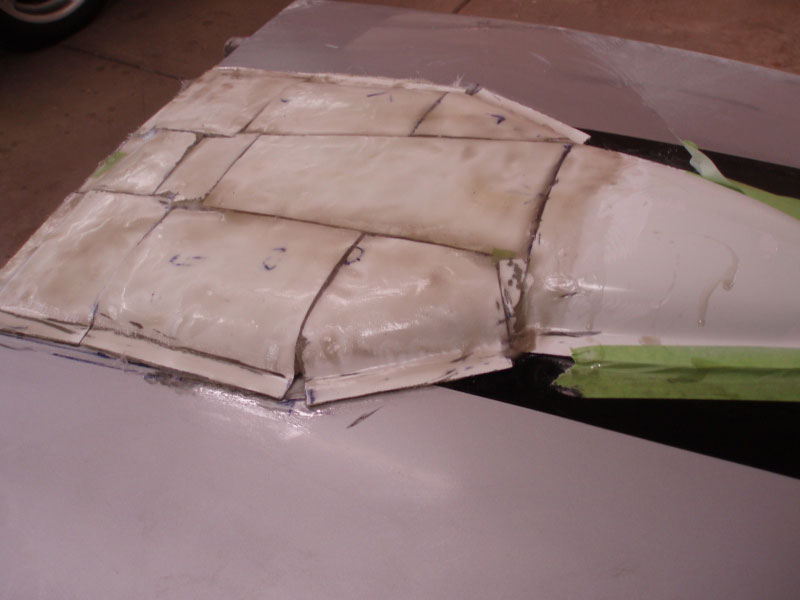
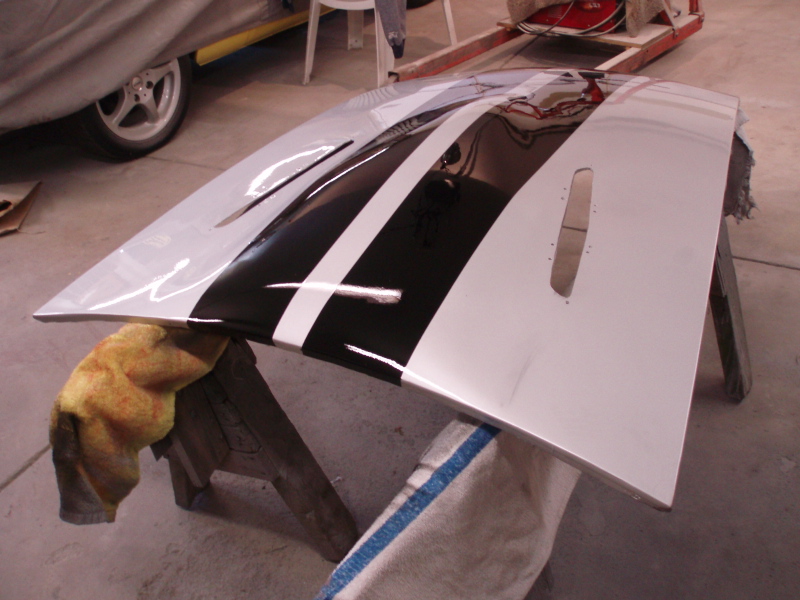
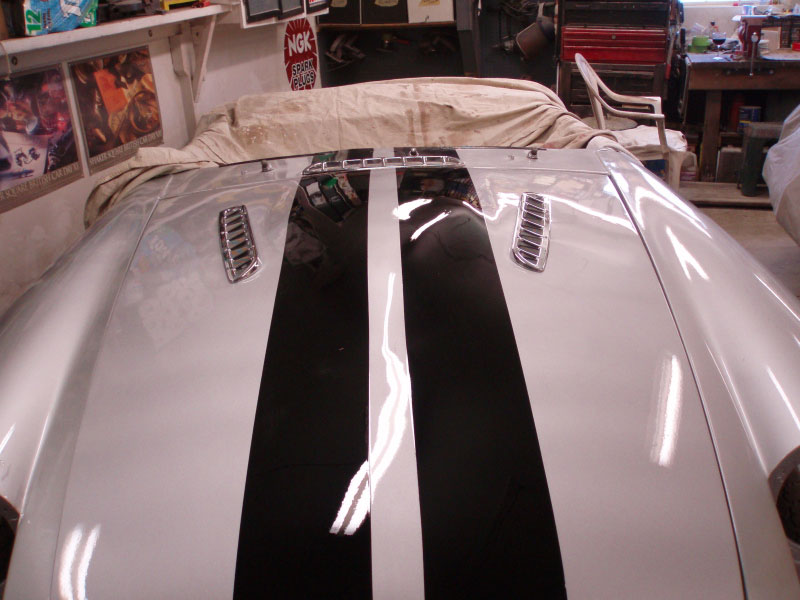
Part shown: V6 Cowl
Aaron in Southern California cut through a slightly blemished MGC hood so his shaker scoop could breathe.
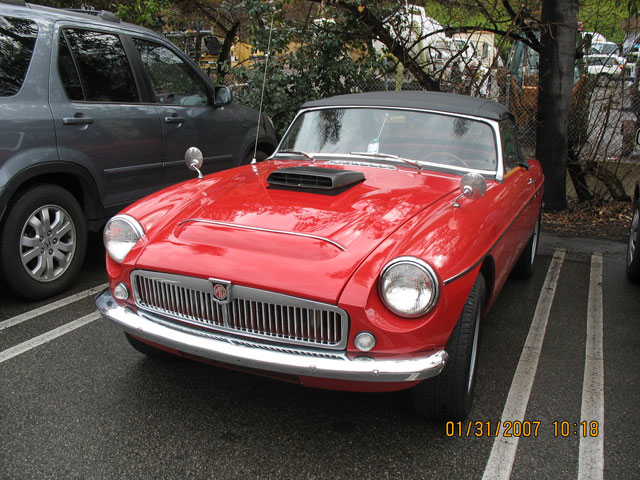
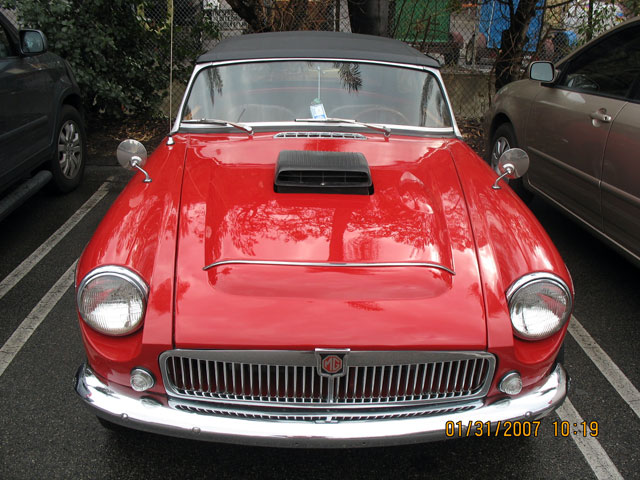
Part shown: MGC Hood
Spoiler Mold Construction
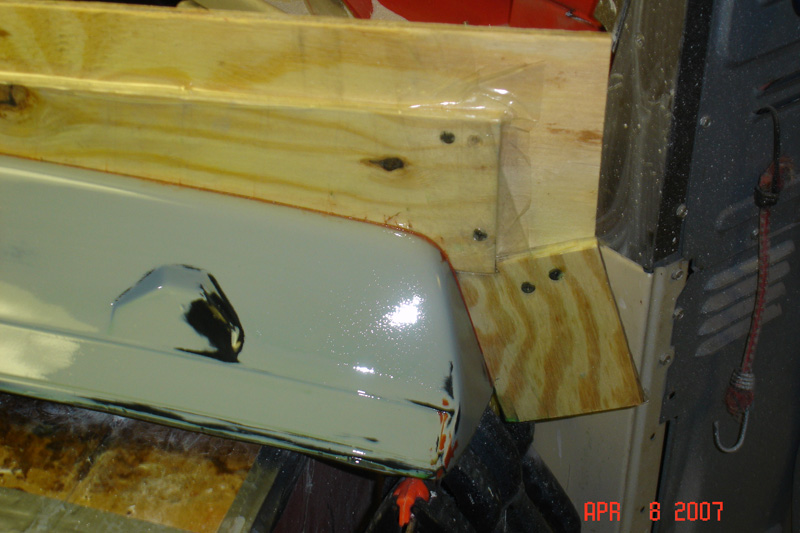
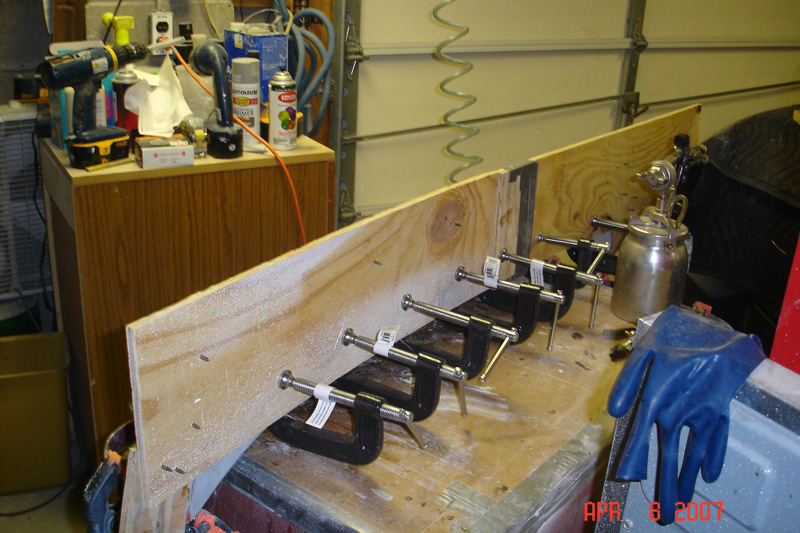
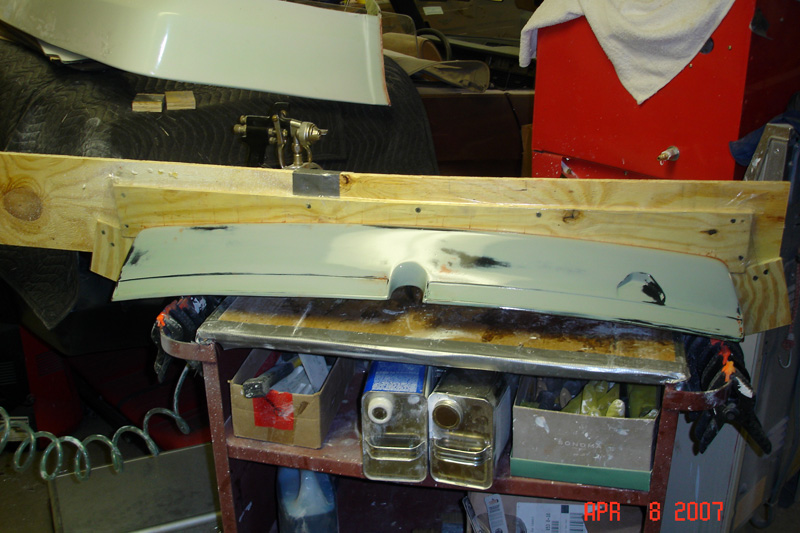
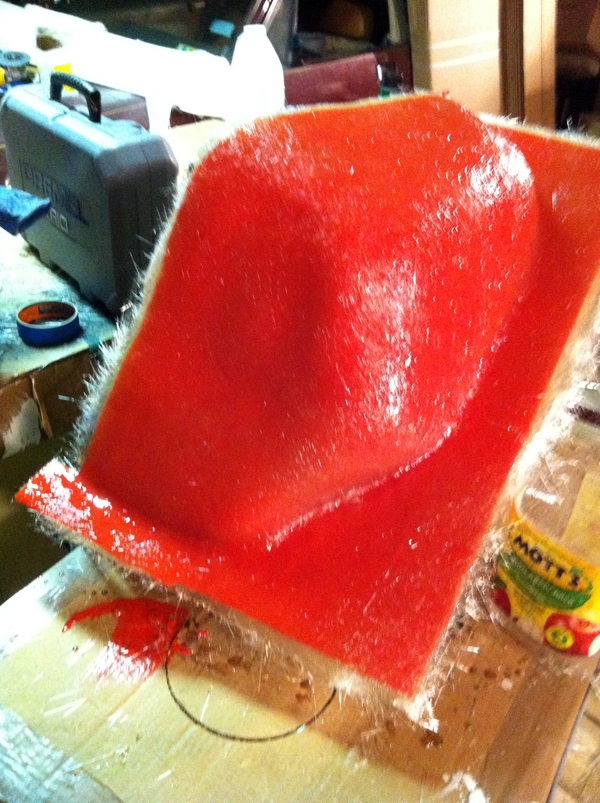
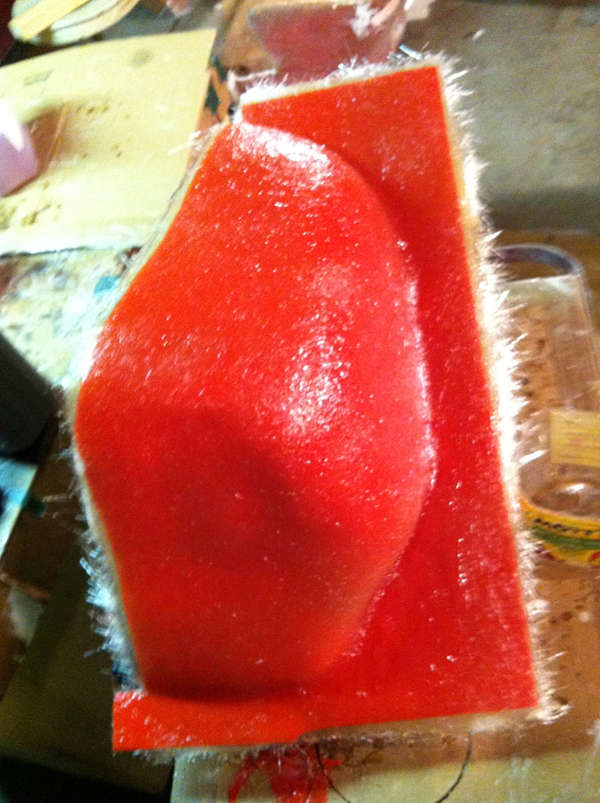
Making a spoiler mold with basic techniques. After the plug is prepped as smooth as possible, a plywood template creates a flange on the parting line for a two-piece mold. The plug gets several coats of PVA mold release, then tooling gelcoat (orange, to check for even coverage). Small parts like this can be brushed rather than sprayed.
Making the Prius Subwoofer Enclosure Mold
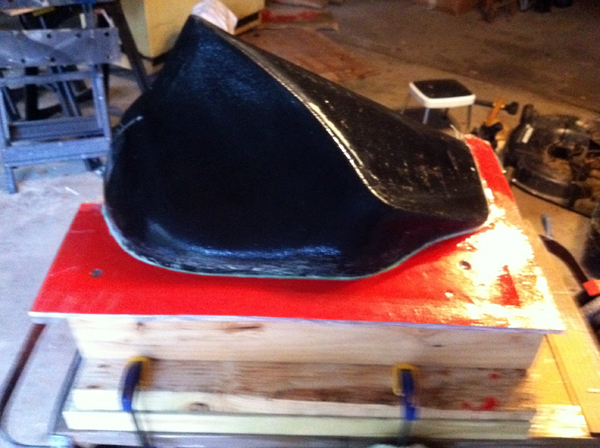
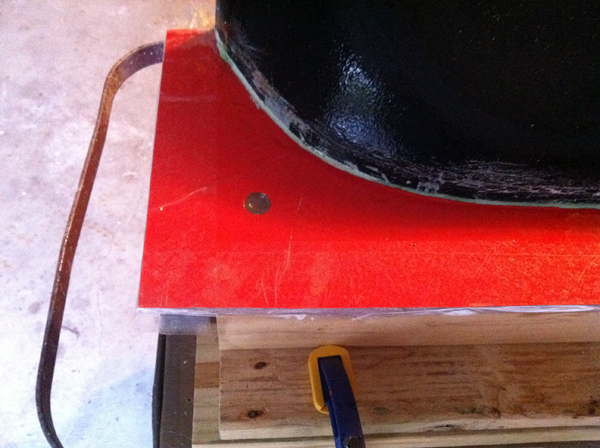
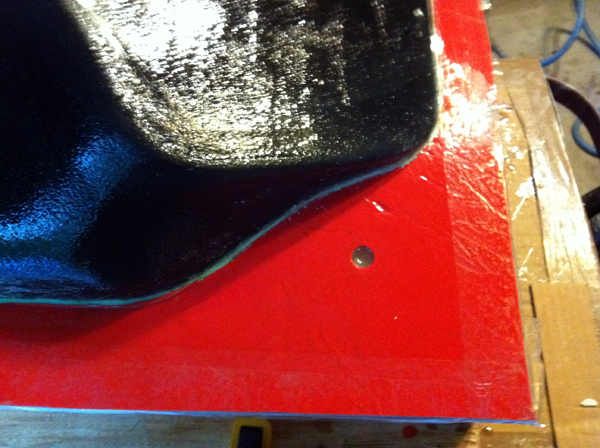
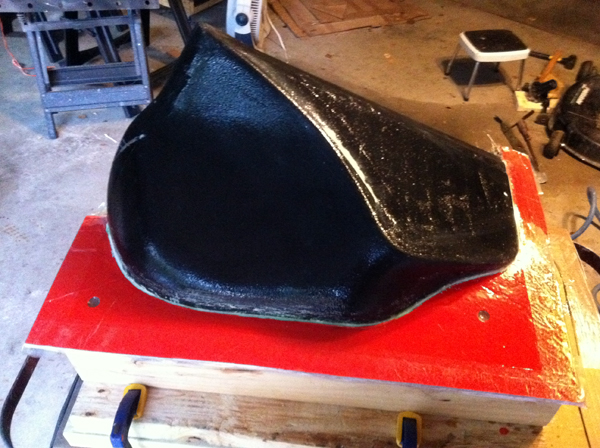
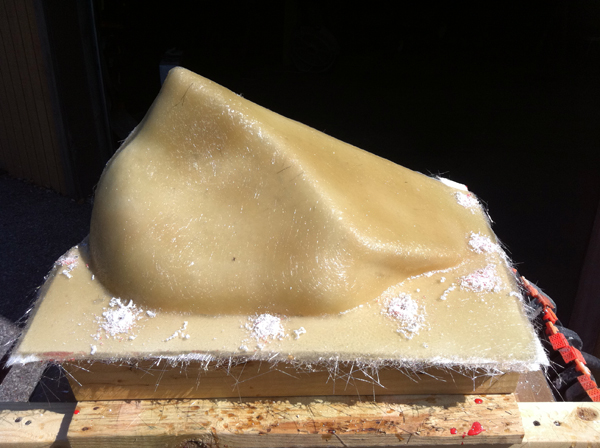
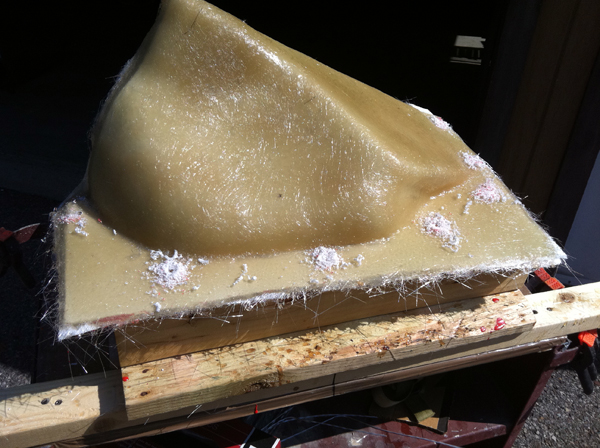
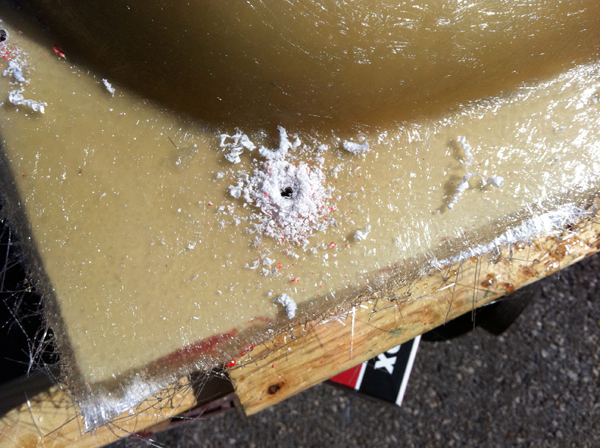
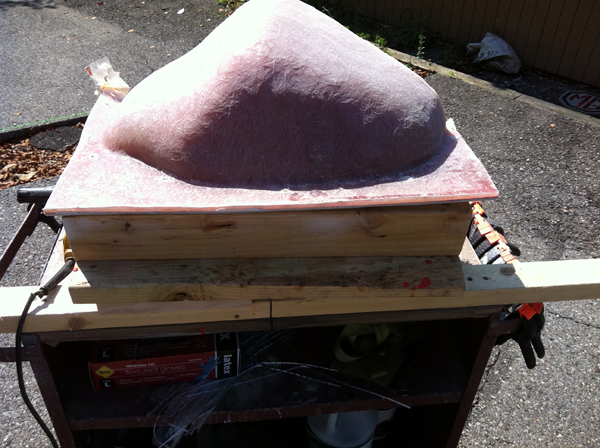
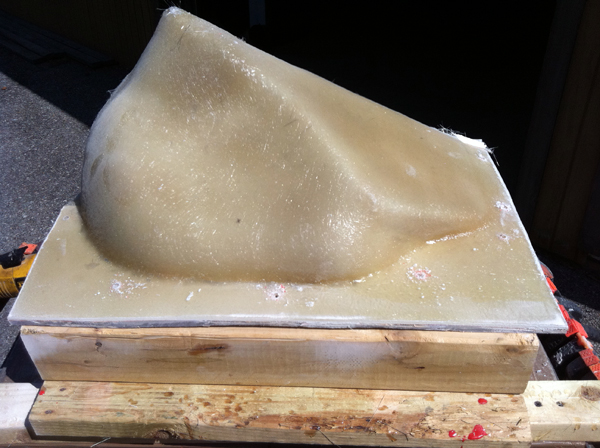
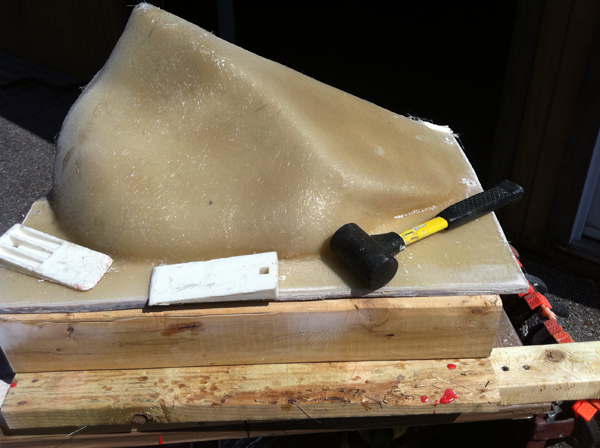
How the Gen 3 Prius enclosure is made, start to finish: a plug is laid up in the car, turned into a two-piece mold, and every enclosure after that is pulled from the mold, so your car never has to sit in the shop.
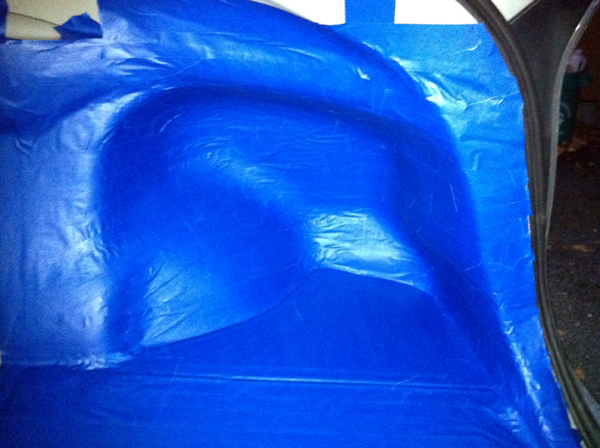
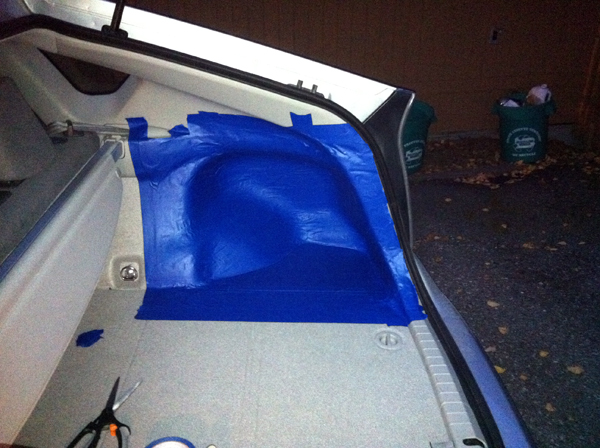
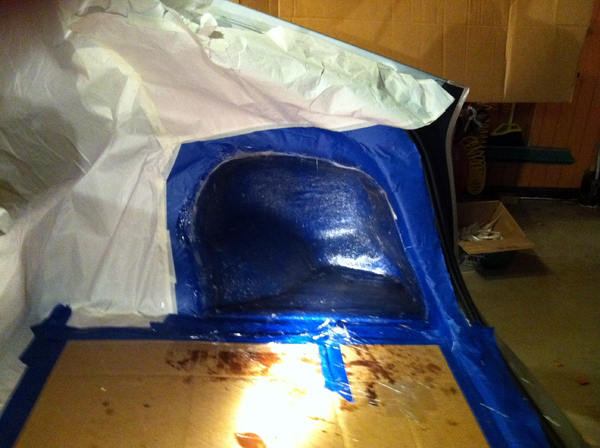
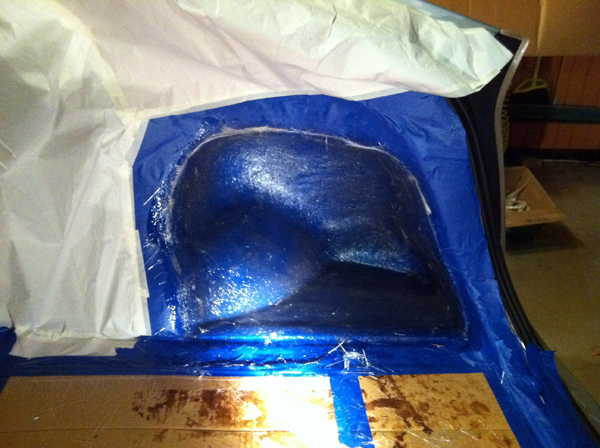
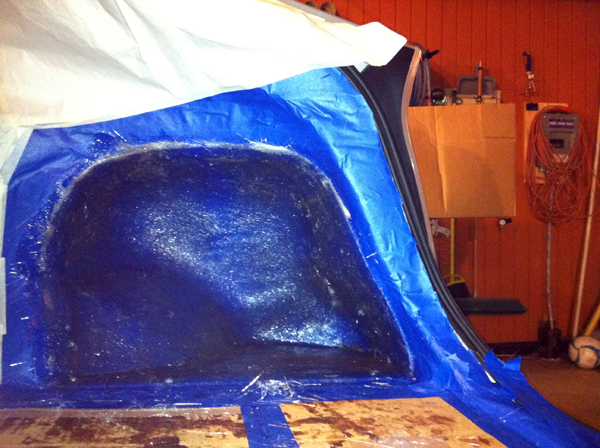
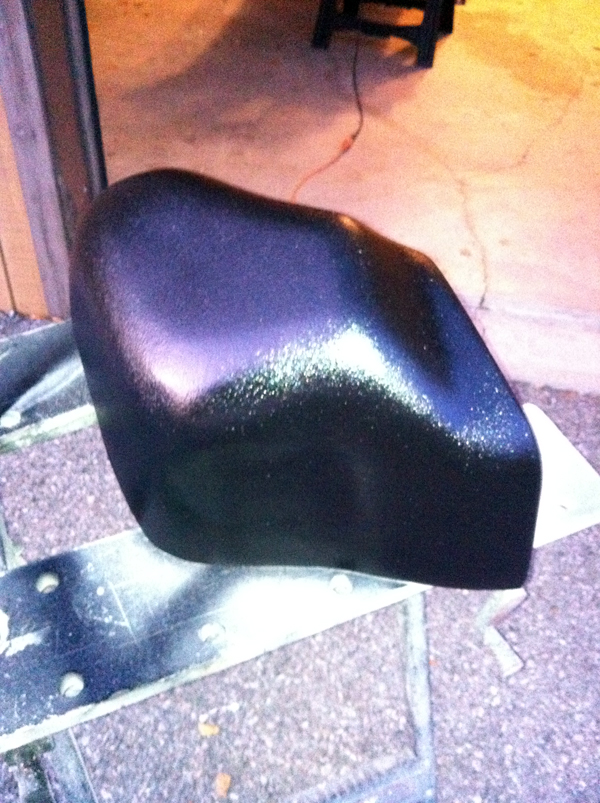
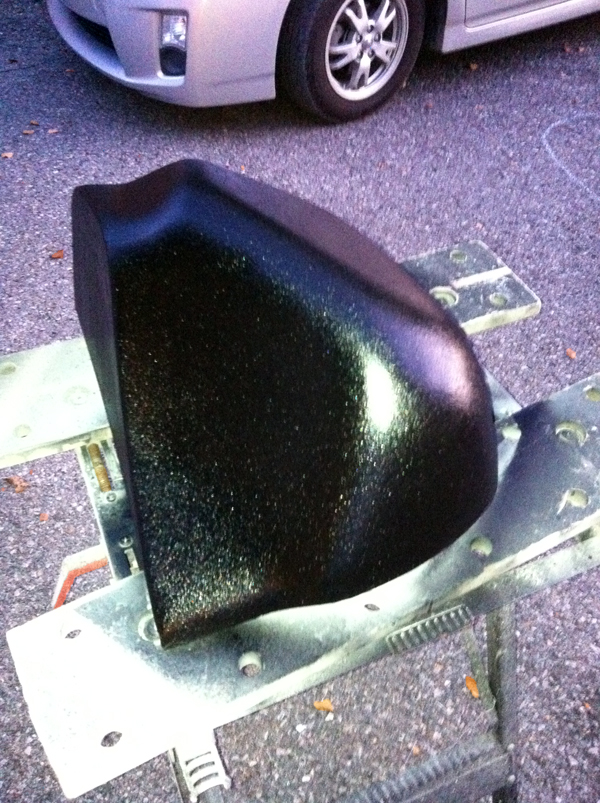
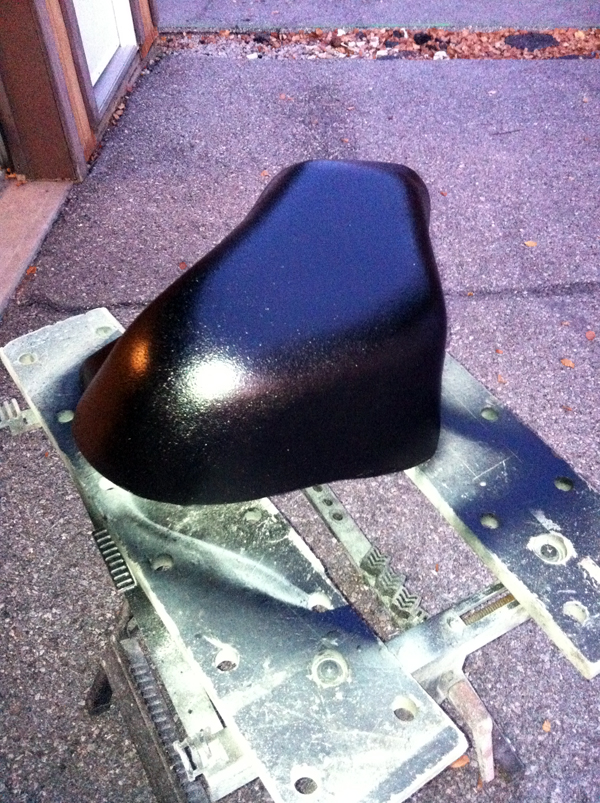
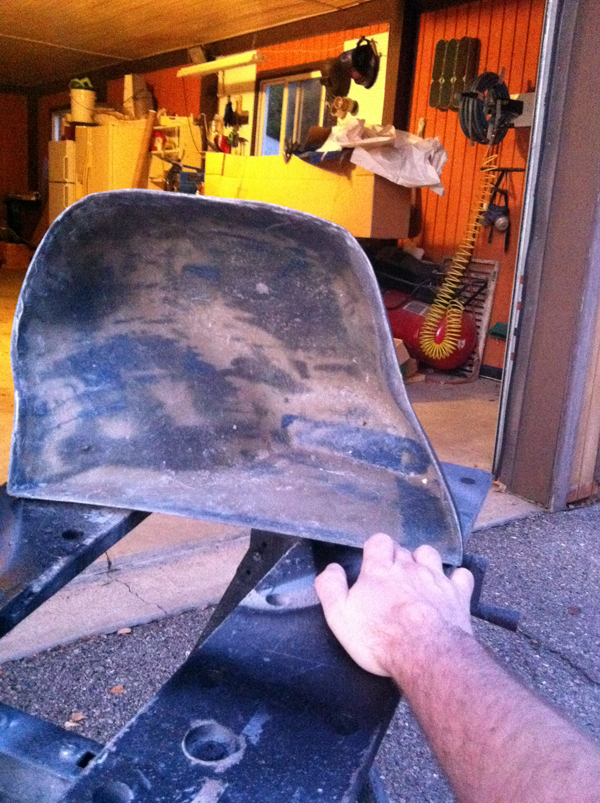
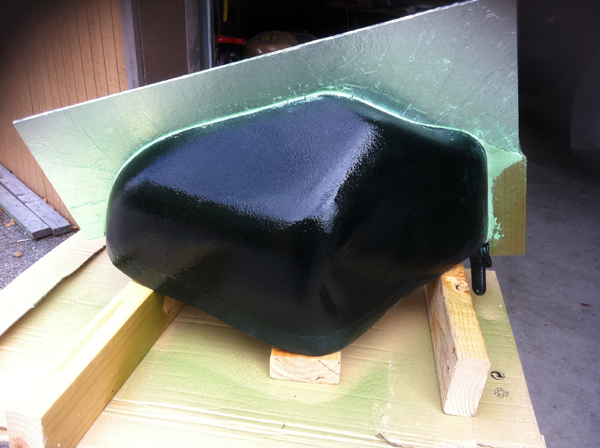
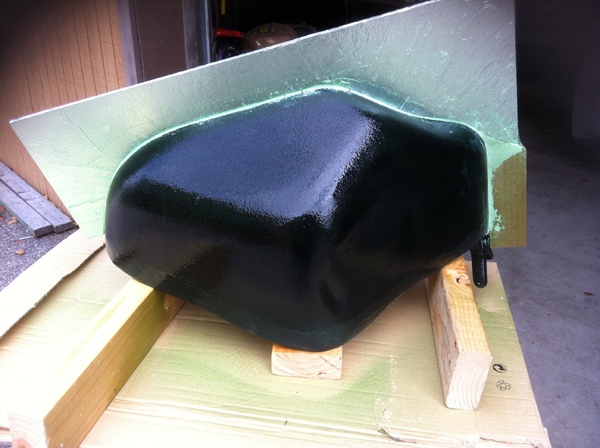
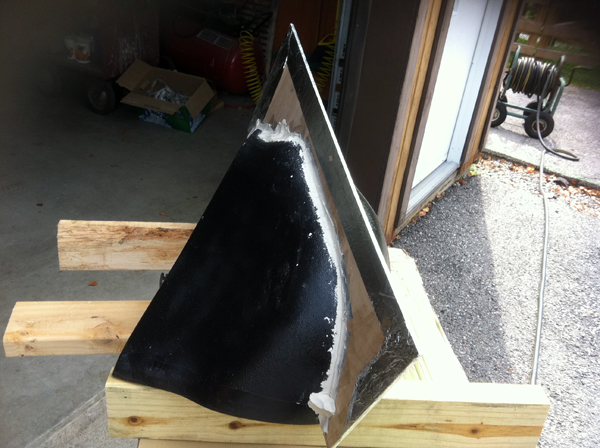
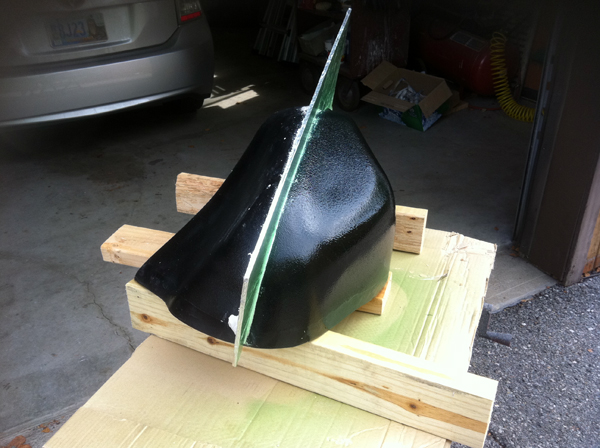
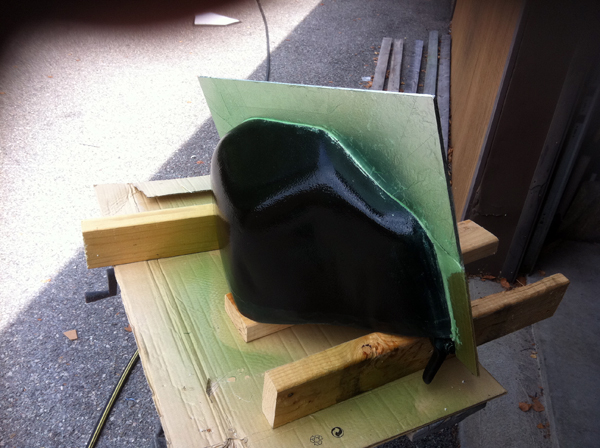
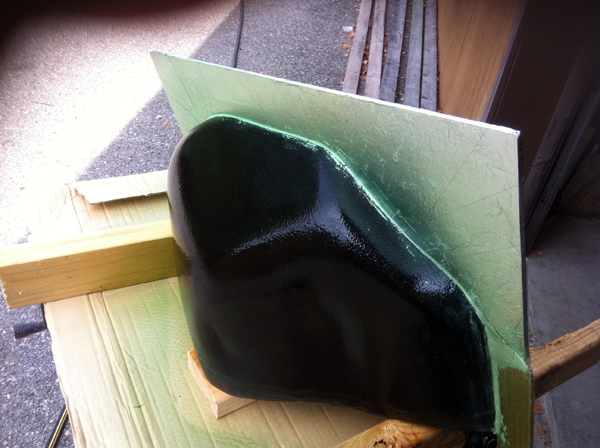
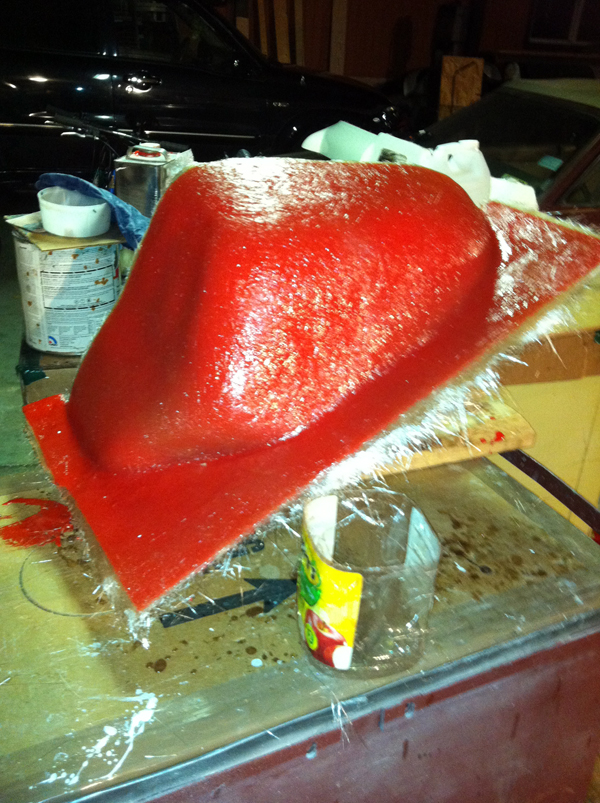
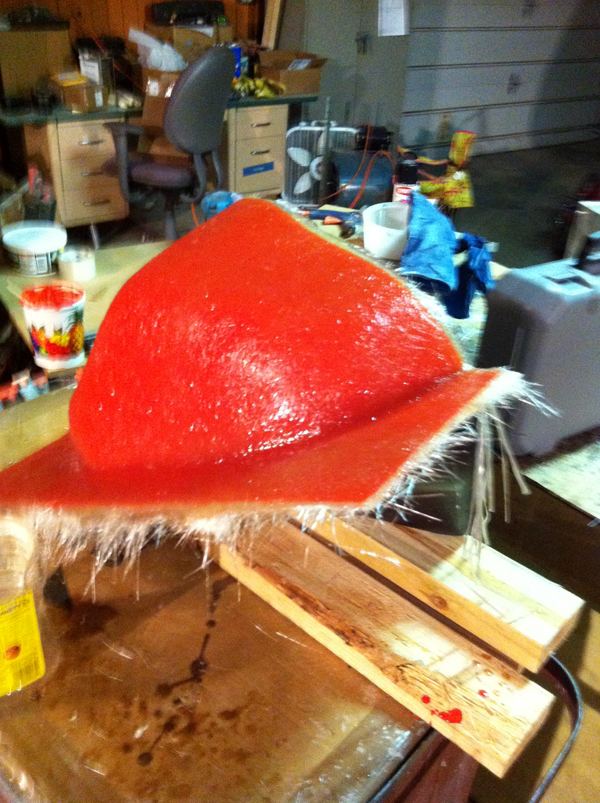
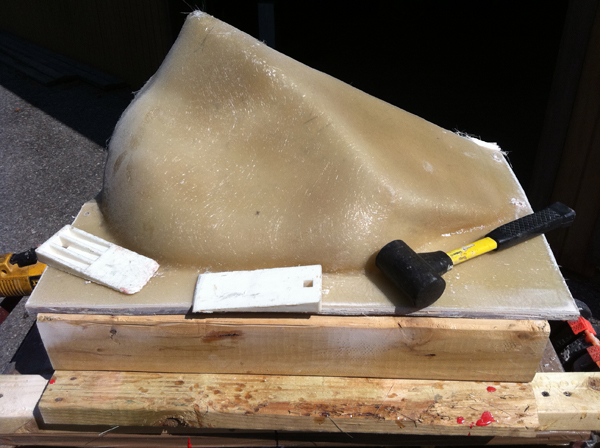
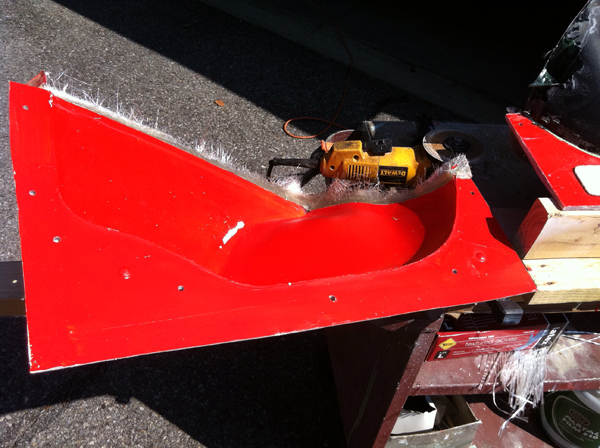
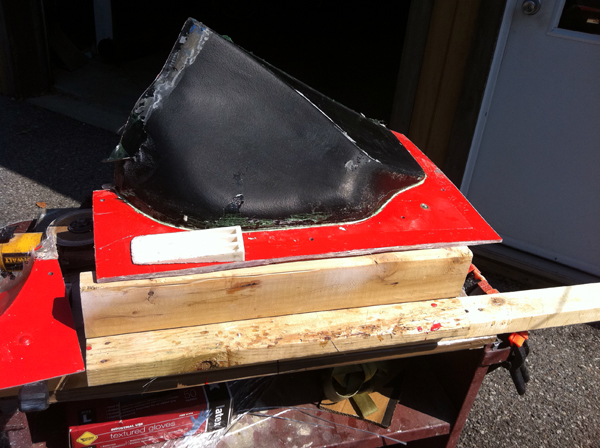
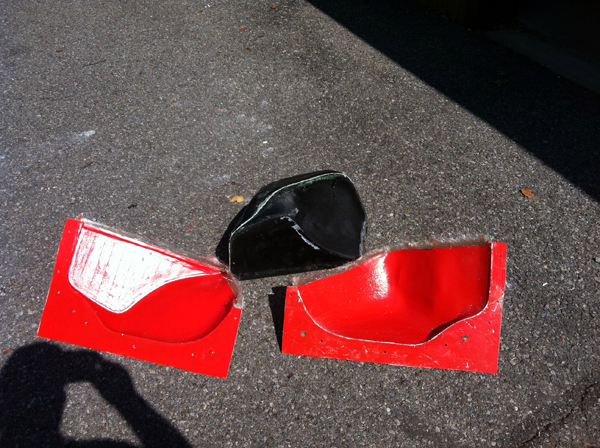
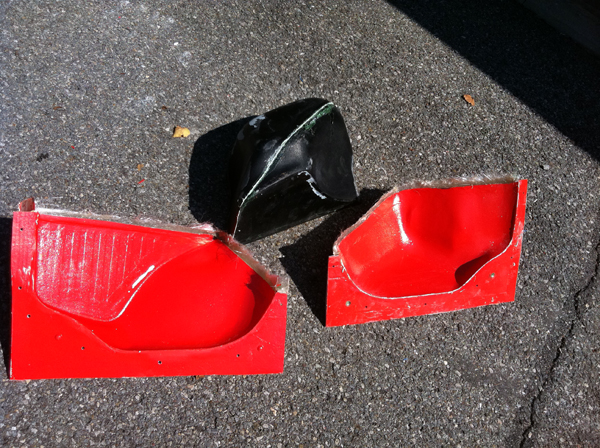
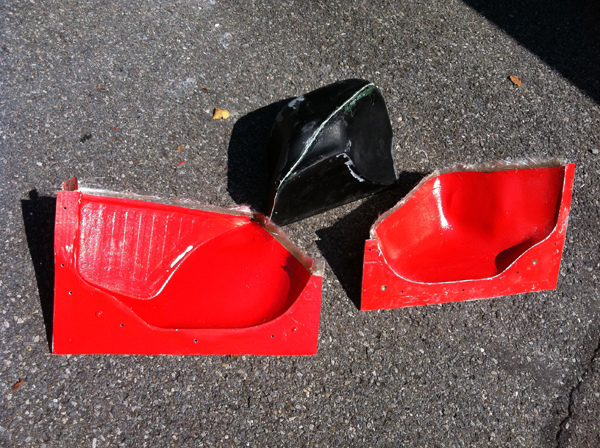
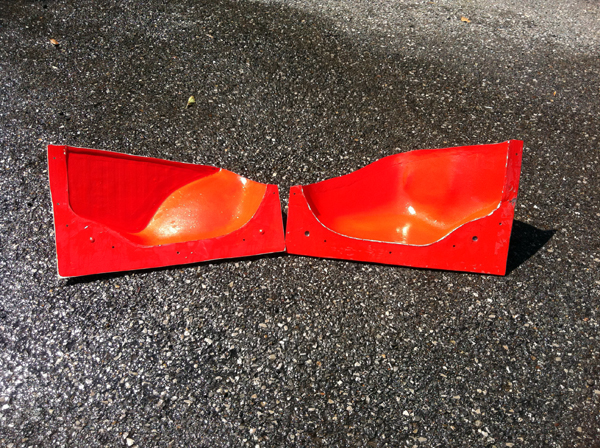
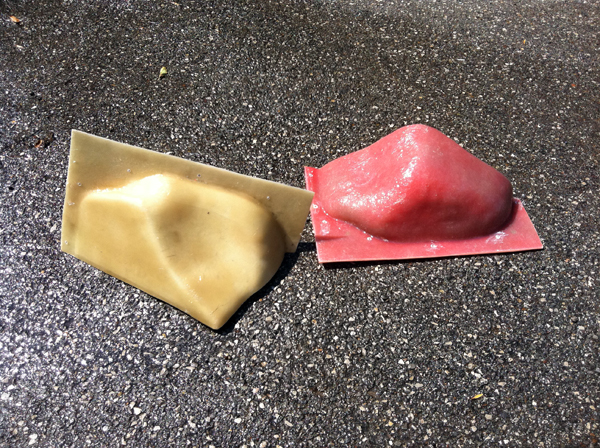
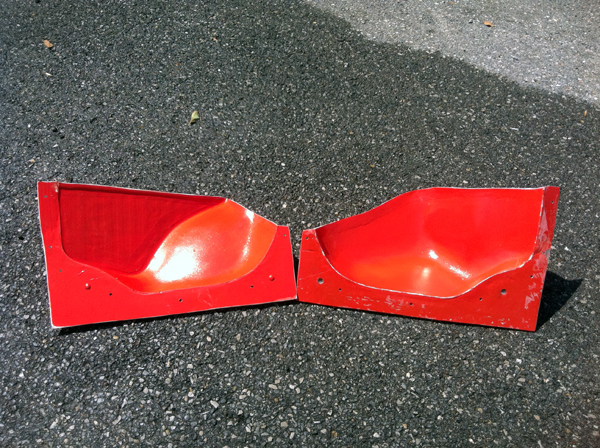
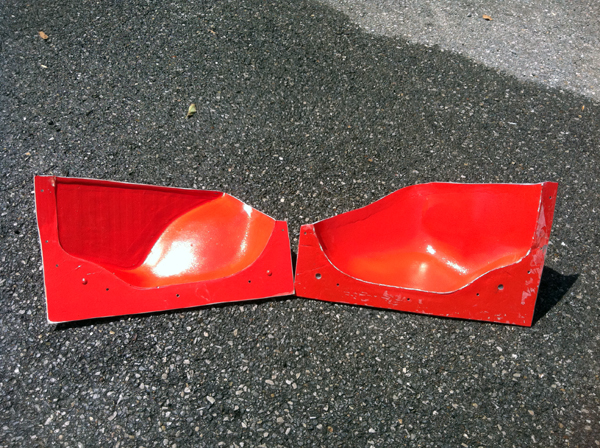
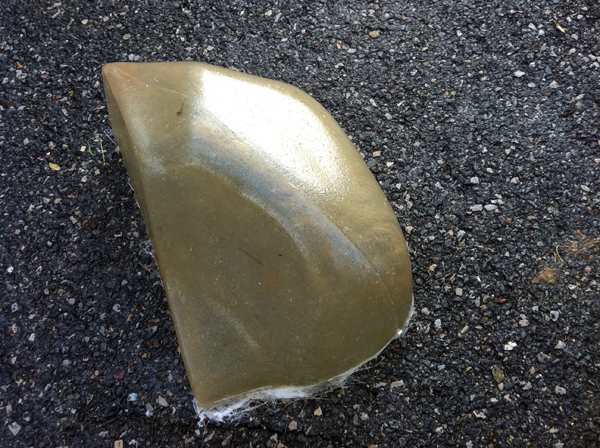
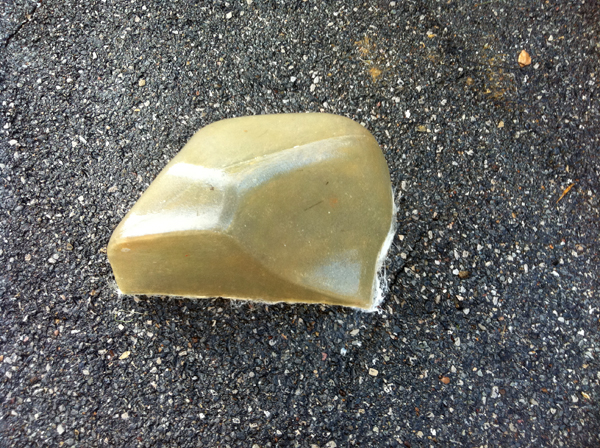
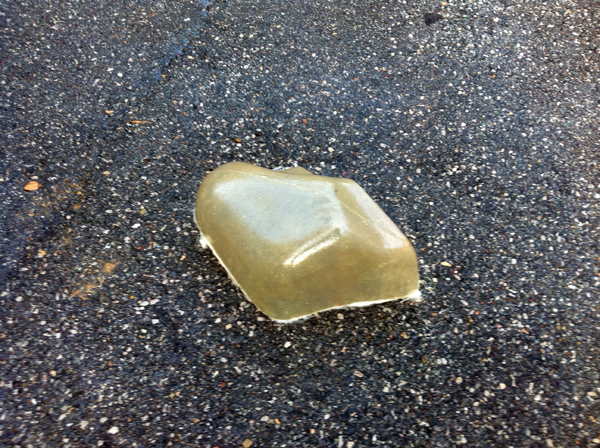
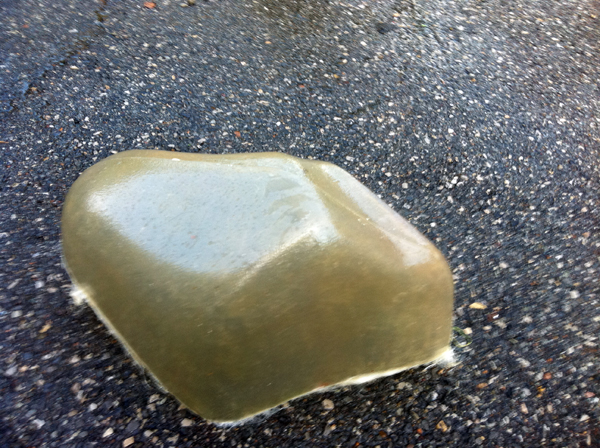
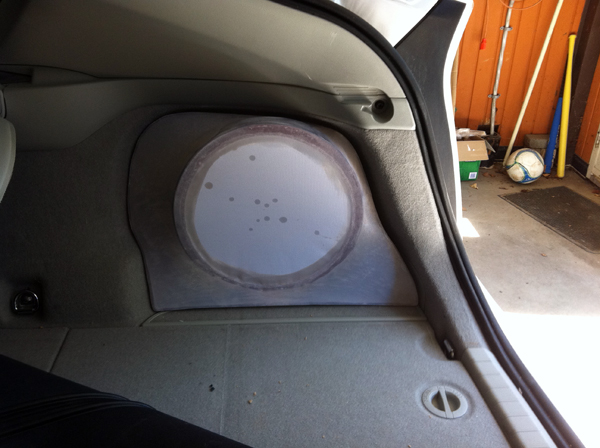
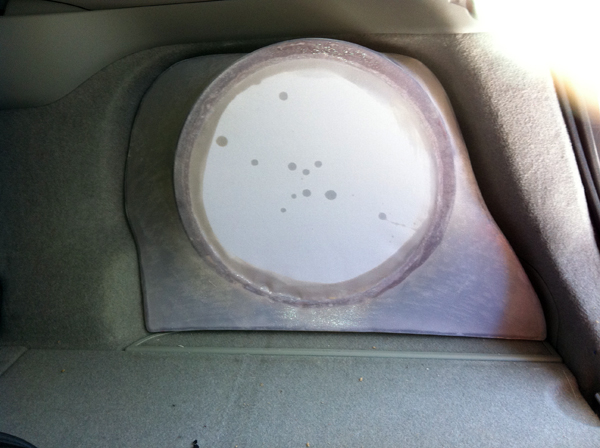
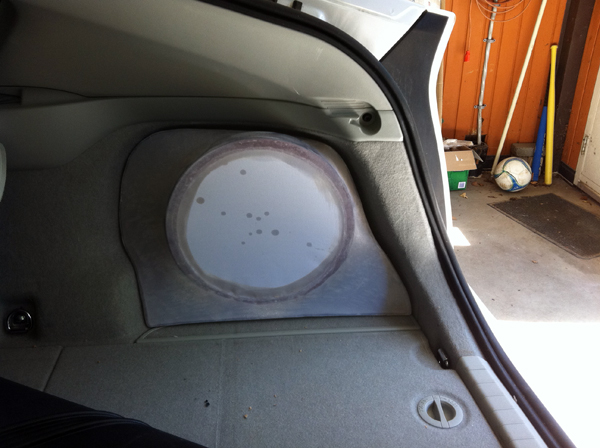
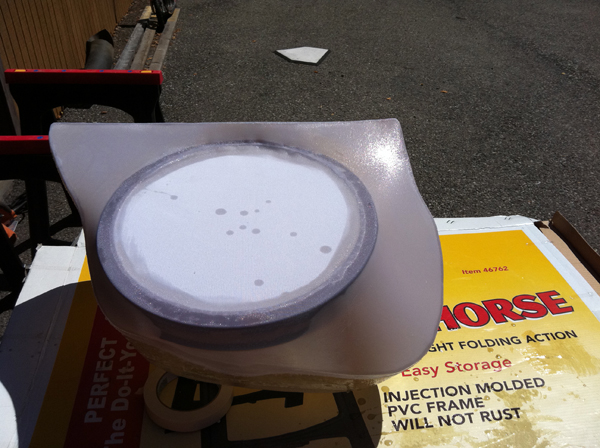
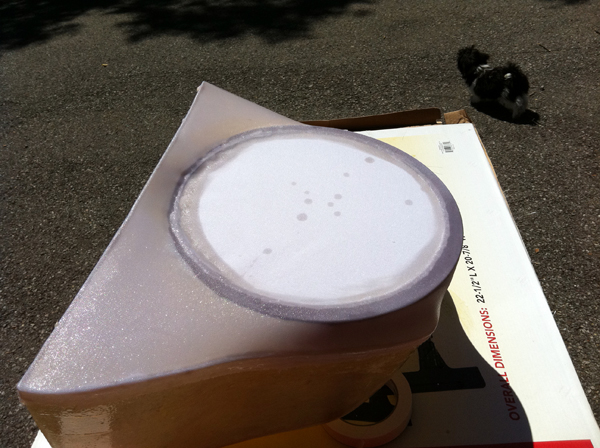
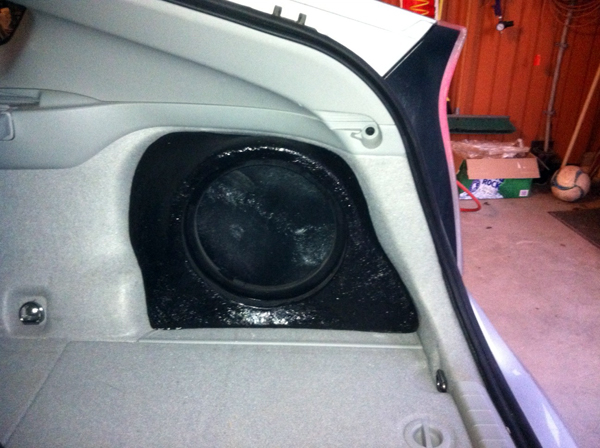
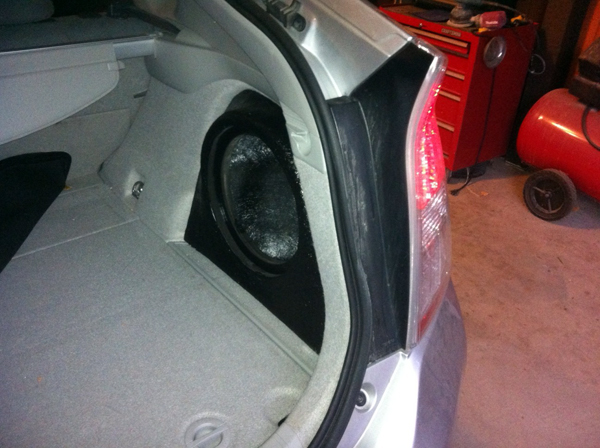
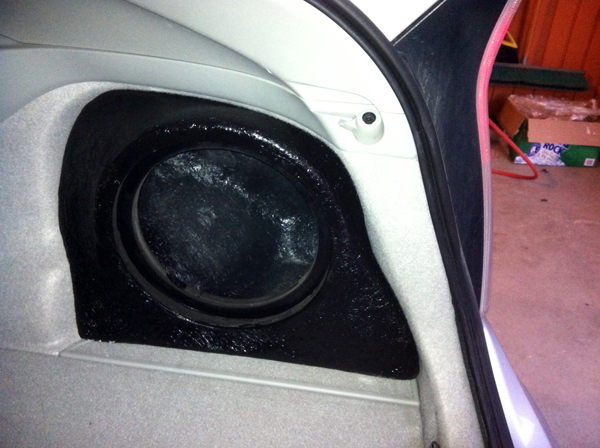
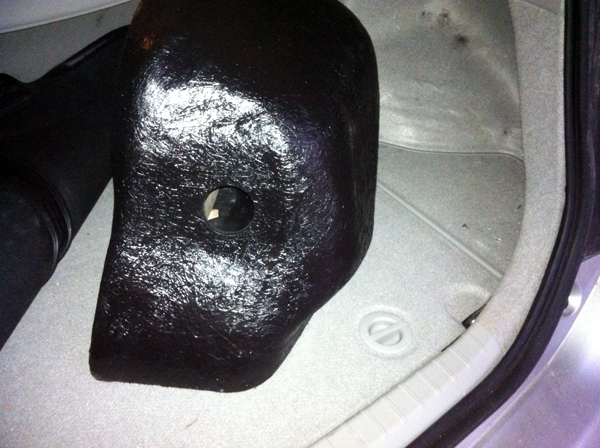
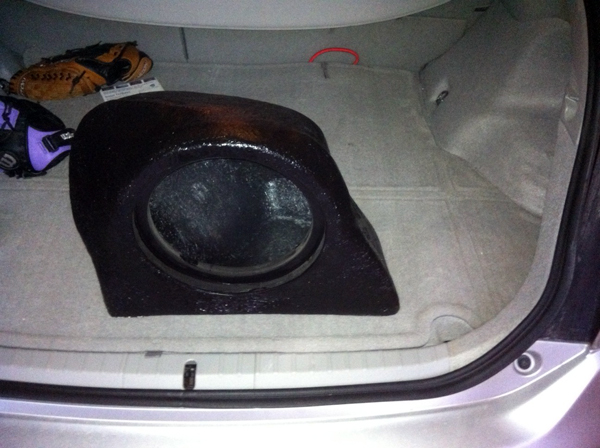
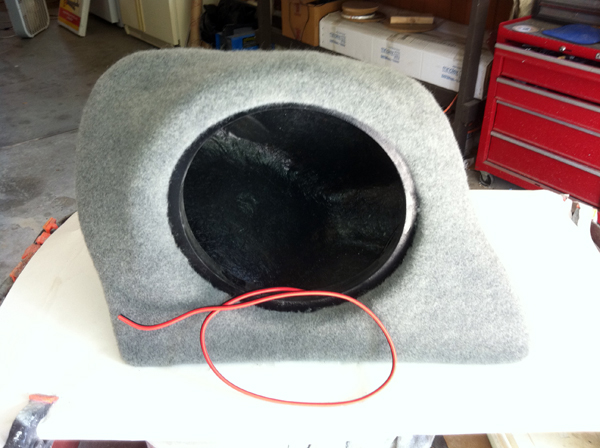
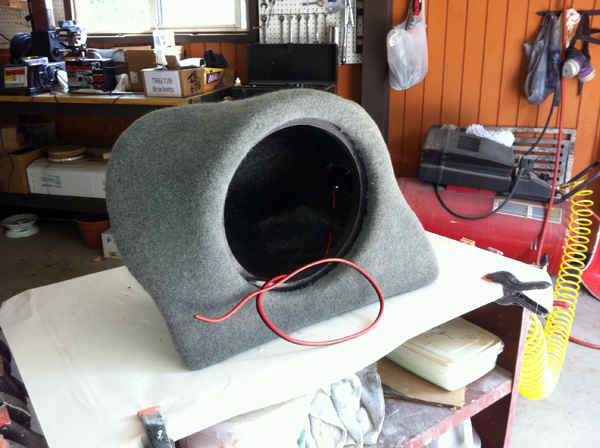
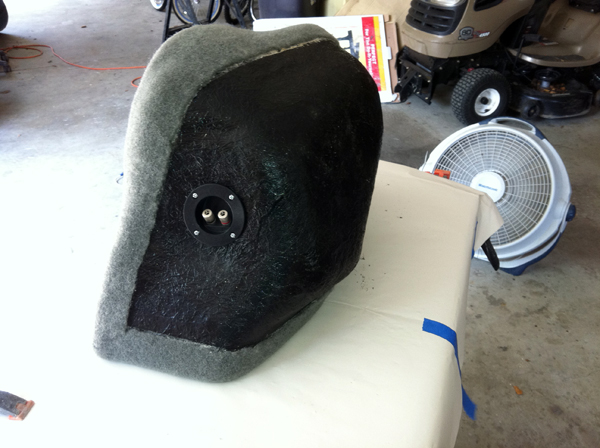
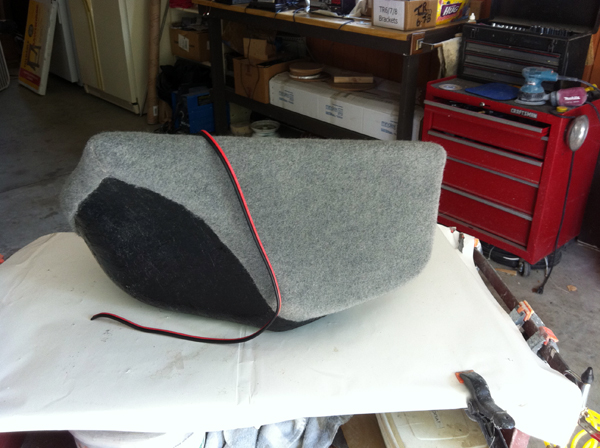
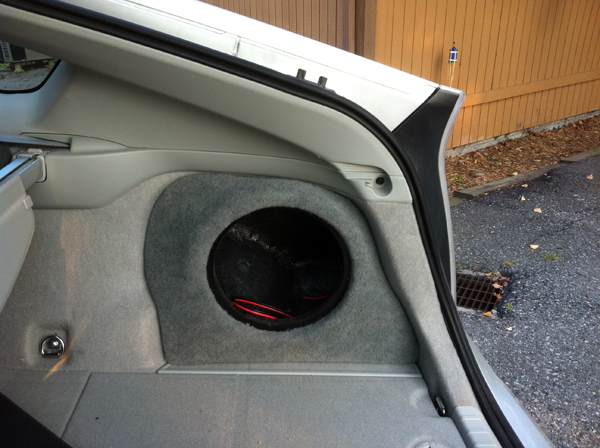
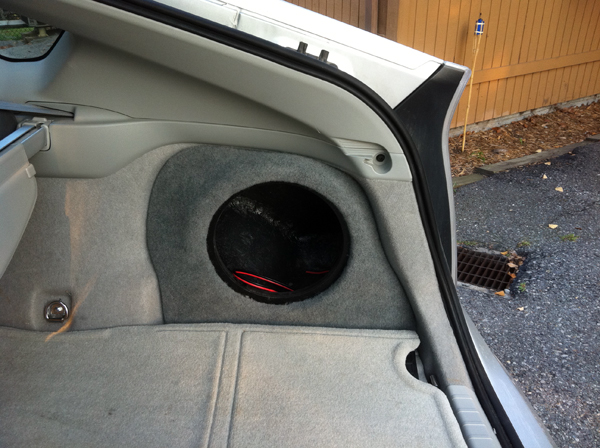
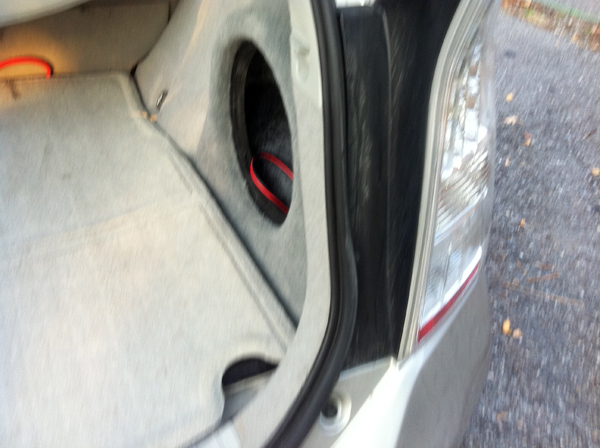
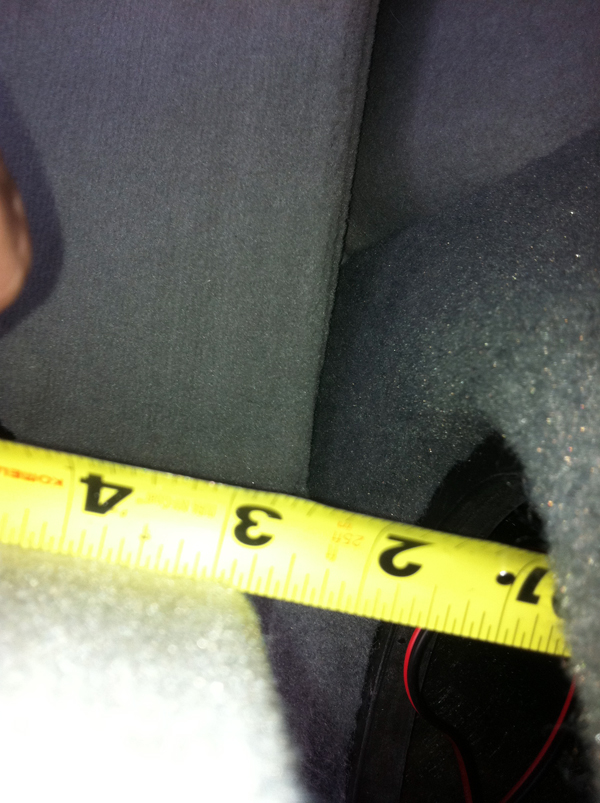
Part shown: Gen 3 Prius Right Subwoofer Enclosure